Getting Started with ARPIA
This page will help you get started with DataKubes. You'll be up and running in no time!
What is ARPIA?
ARPIA is a platform that helps you create and manage your data science projects easily and quickly. With ARPIA, you can access different data sources, analyze them, visualize them, and share them with your team. ARPIA also provides tools for training and deploying machine learning models, as well as monitoring their performance and quality.
Getting Started with ARPIA
Step 1: To use ARPIA, you need to have an admin account, which you can acquire by requesting a demonstration on the website https://arpia.ai/.
Step 2: Once you have your account, go to the ARPIA website and click on the "Login" button.

Step 3: After clicking on Login, a new window will open, and you can log in with your admin account.
Admin AccountThe first account is always the administration account, which is by default the email and account used during the demonstration request.
Exploring ARPIA
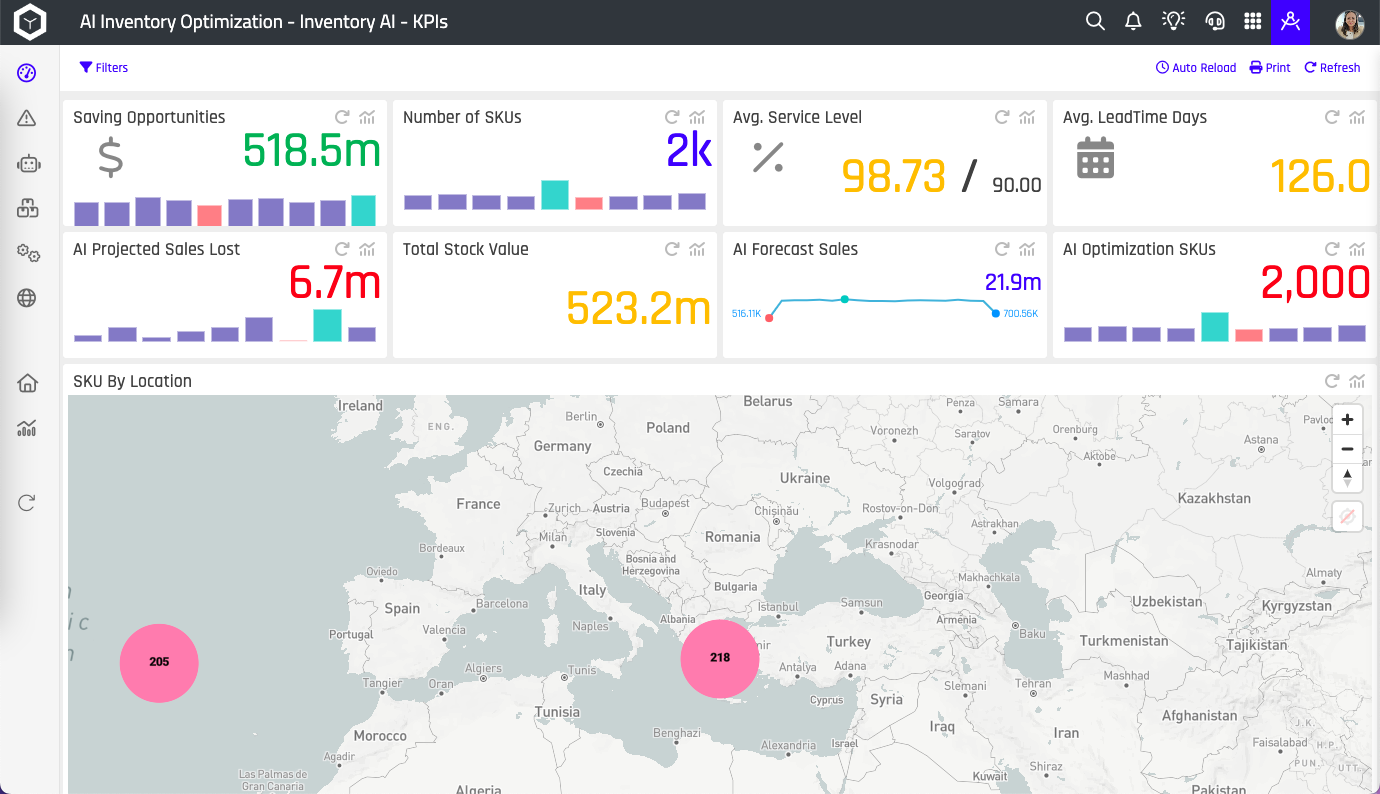
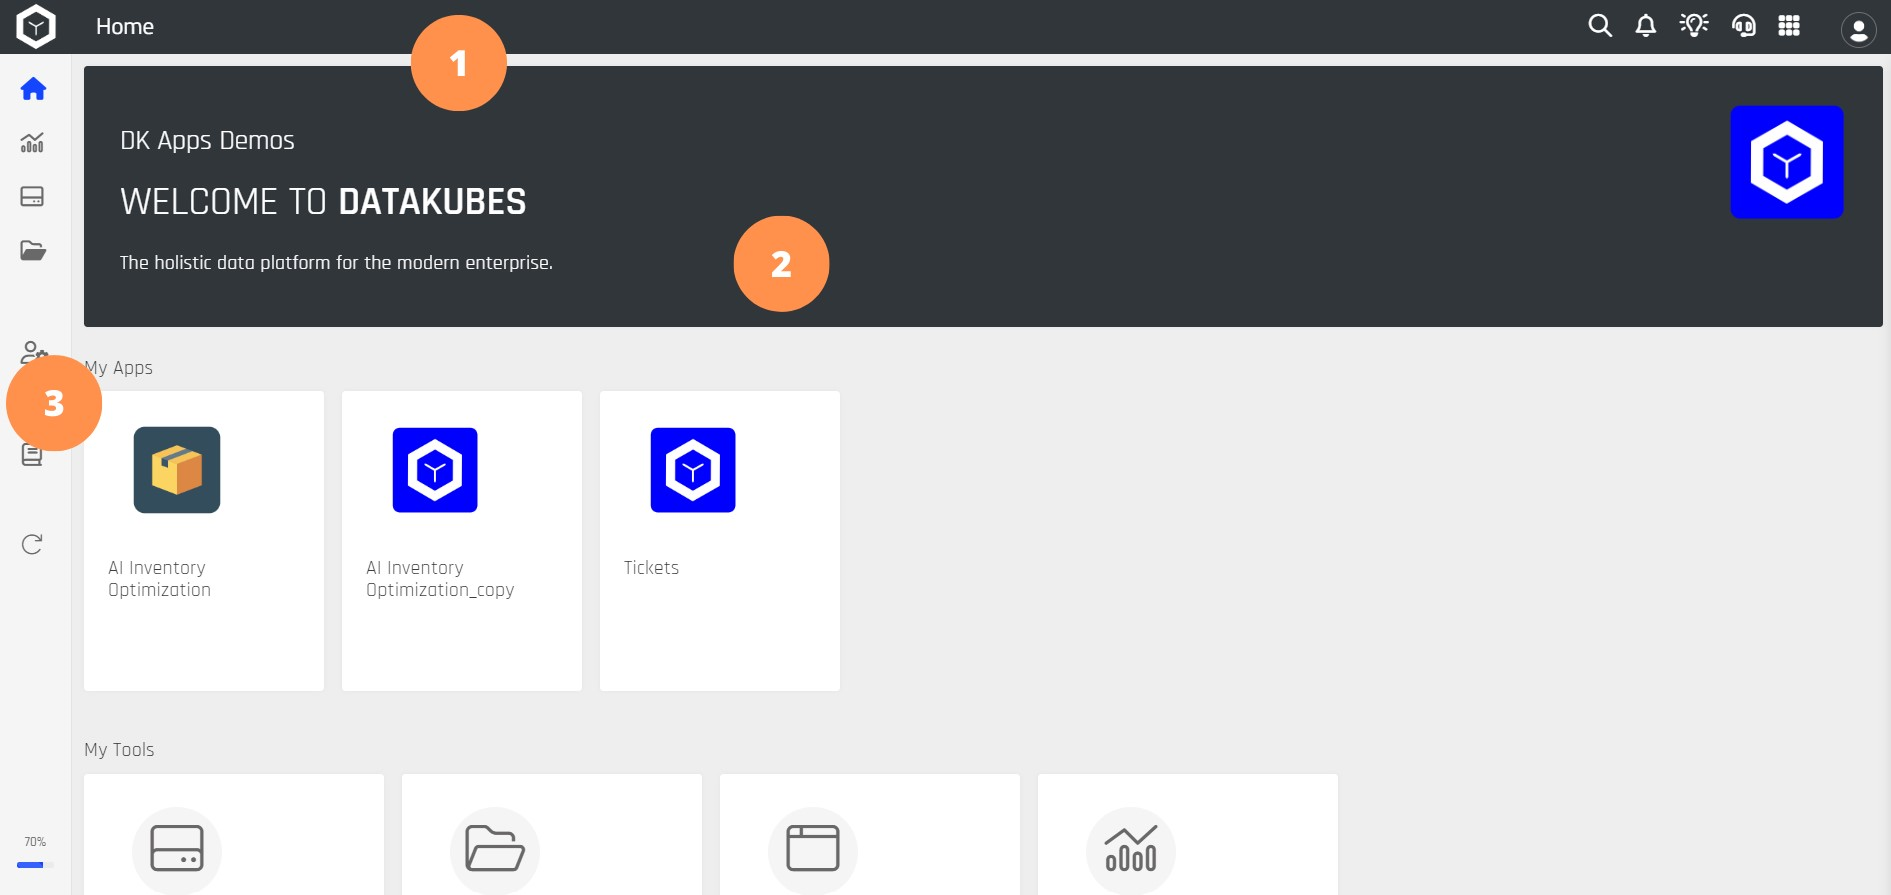
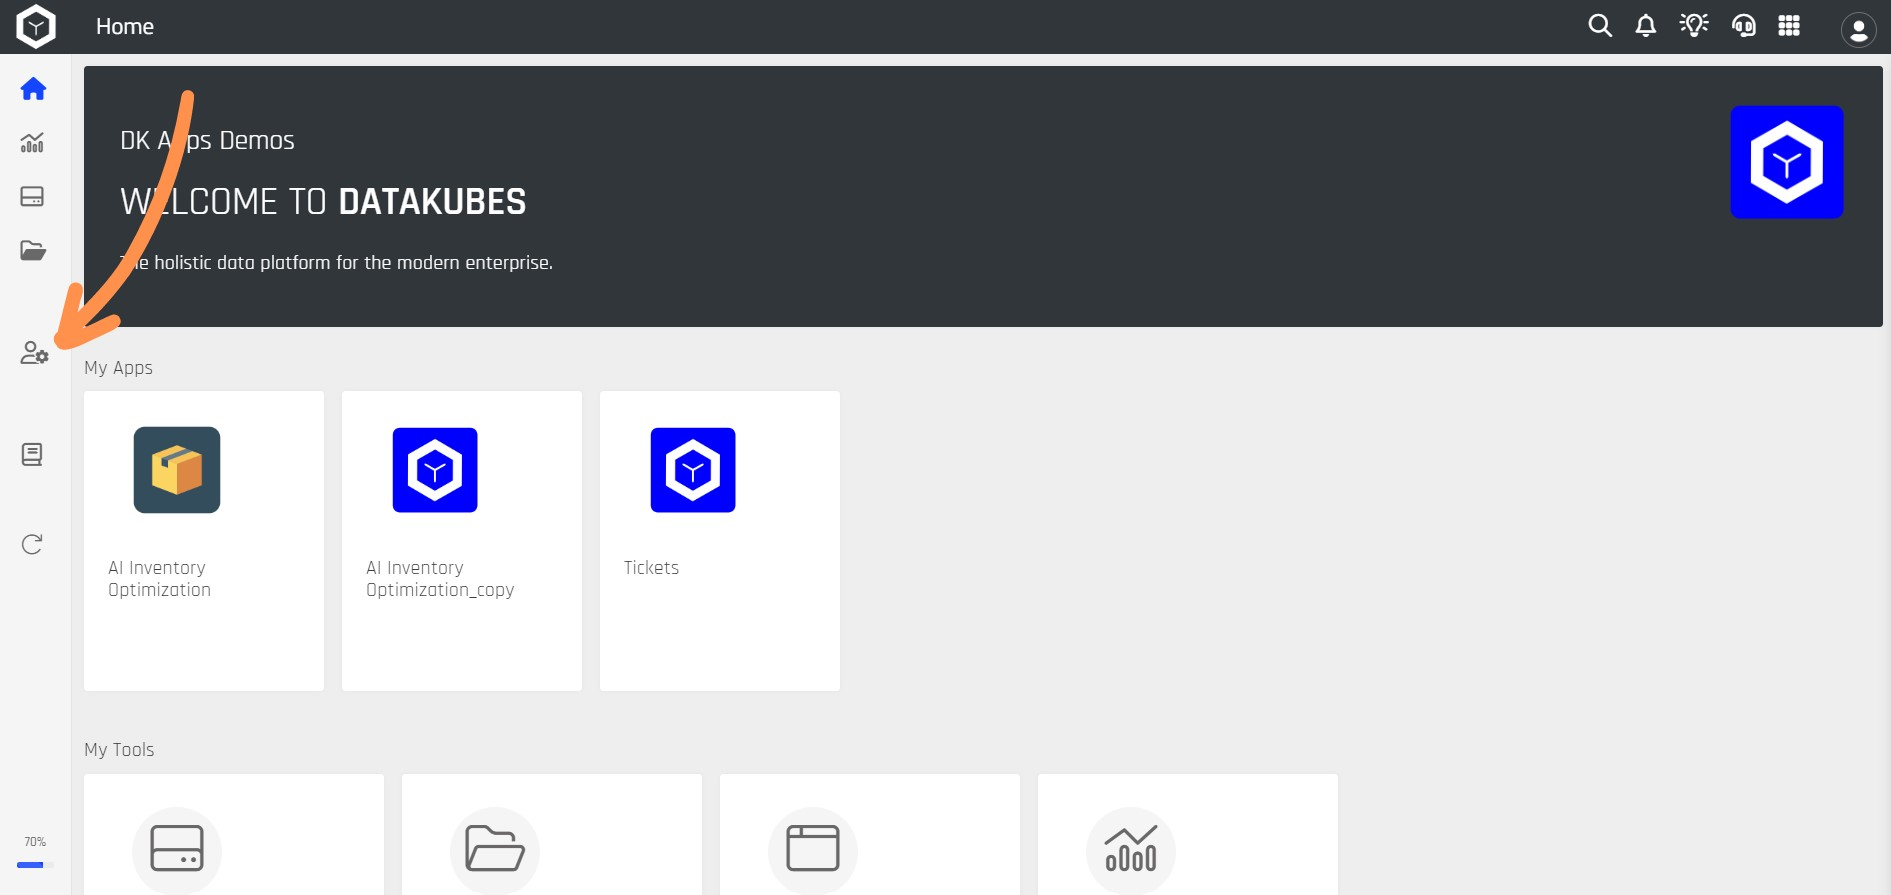
Once you have registered with your admin account on DataKubes, you will have access to the home screen, which looks like the following:
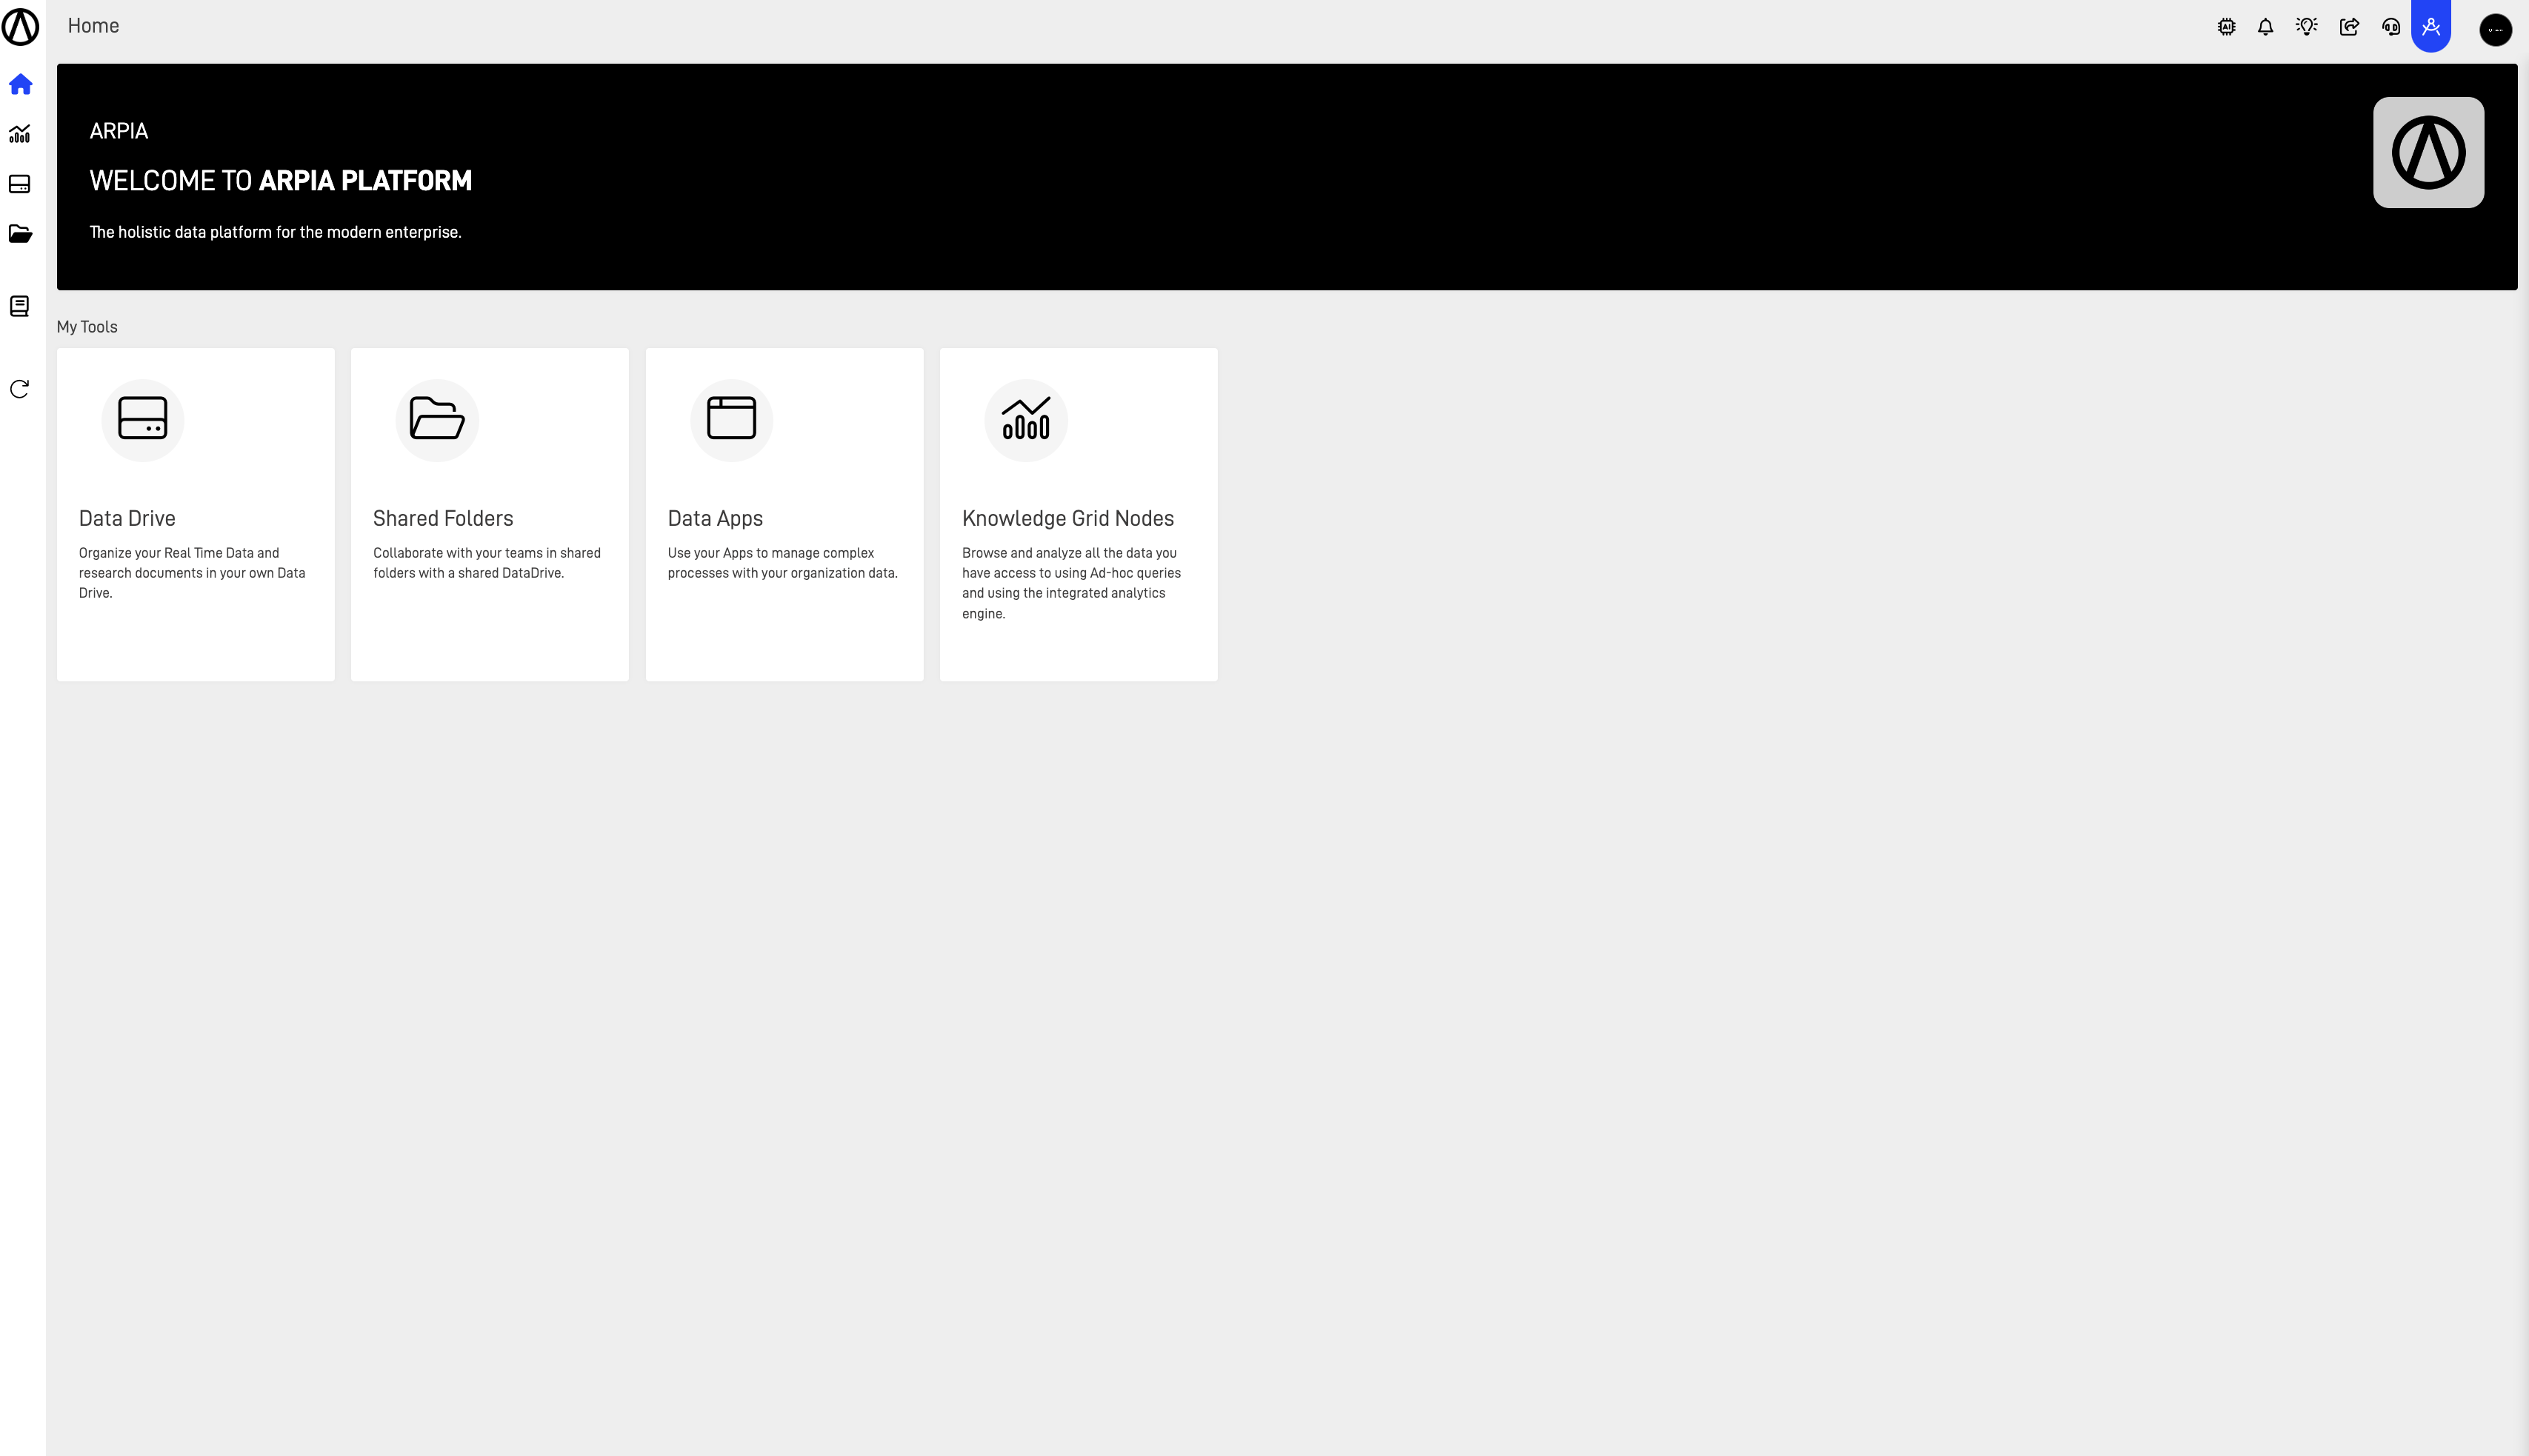
The main page is divided into three sections:
- Section 1: This is the header, which contains the title of the screen, quick access to searches, screen locking, notifications, dark mode switch, access to support chat, and session properties.
- Section 2: This is the main menu or platform navigation. Depending on the user's profile, you will see the Analytics area and the Data & Design area, and Settings.
- Section 3: In this section, you can find tools like Insights, DataDrive, Users & Security, among others.
Permissions for the Orchestrator
To have access to all the tools of DataKubes, you should follow these steps:
Step 1: Go to the Users & Security section.
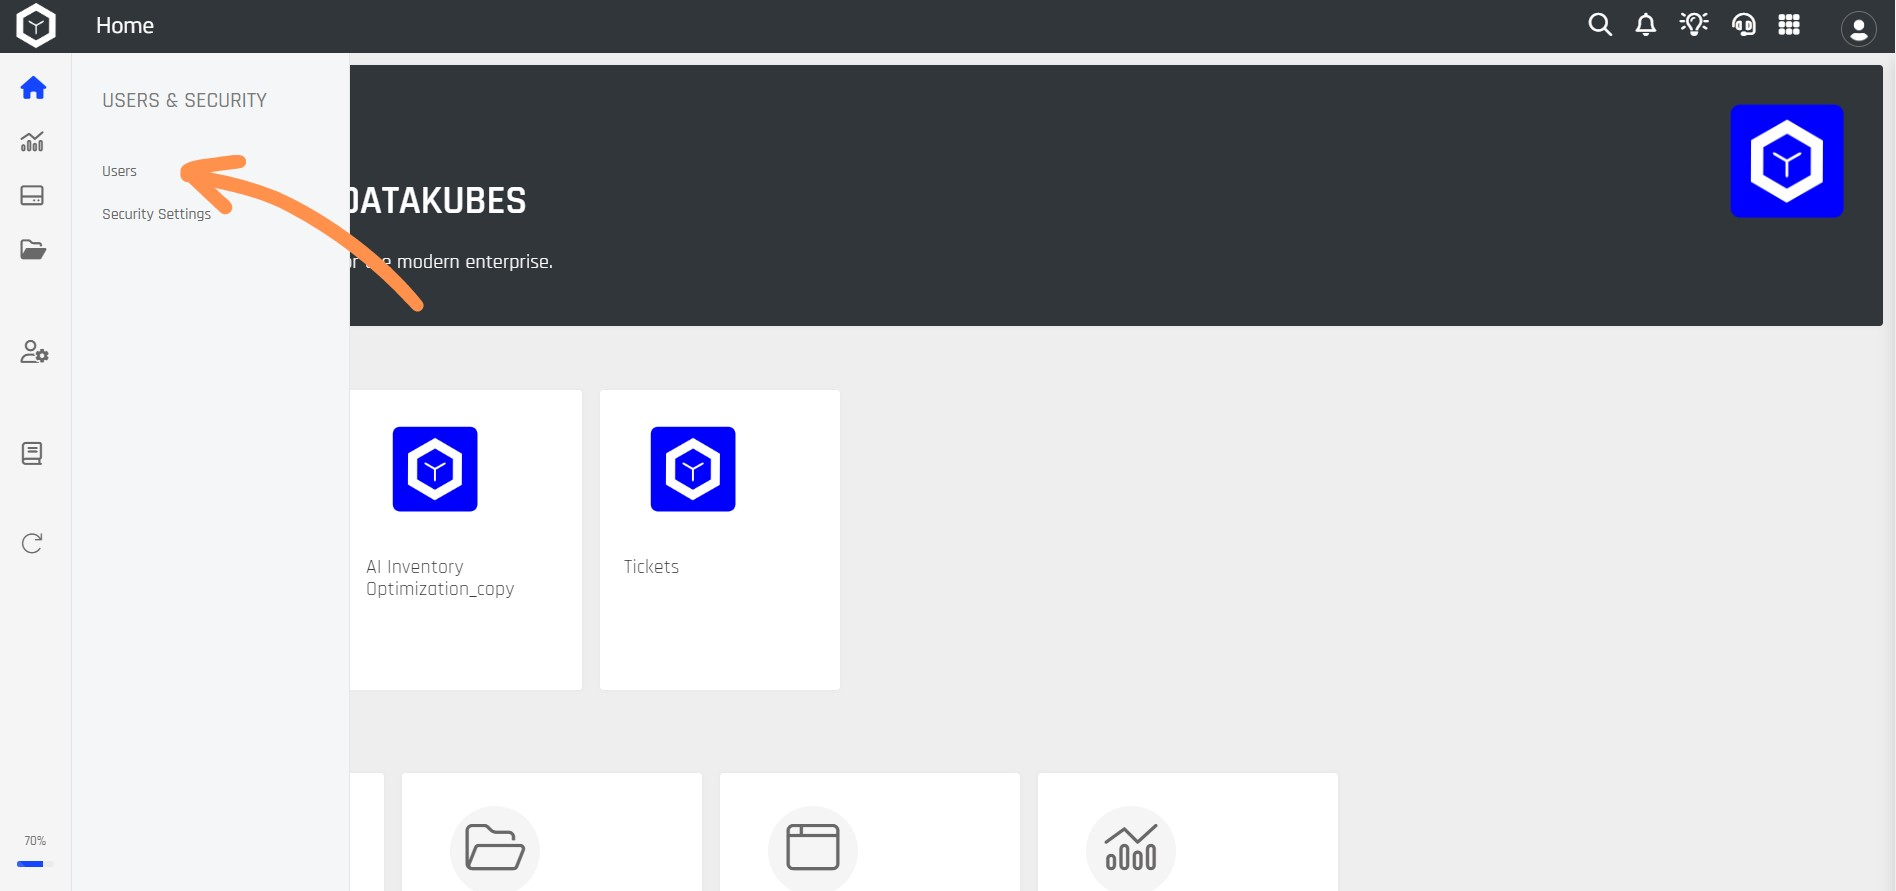
Step 2: Select the Users option.
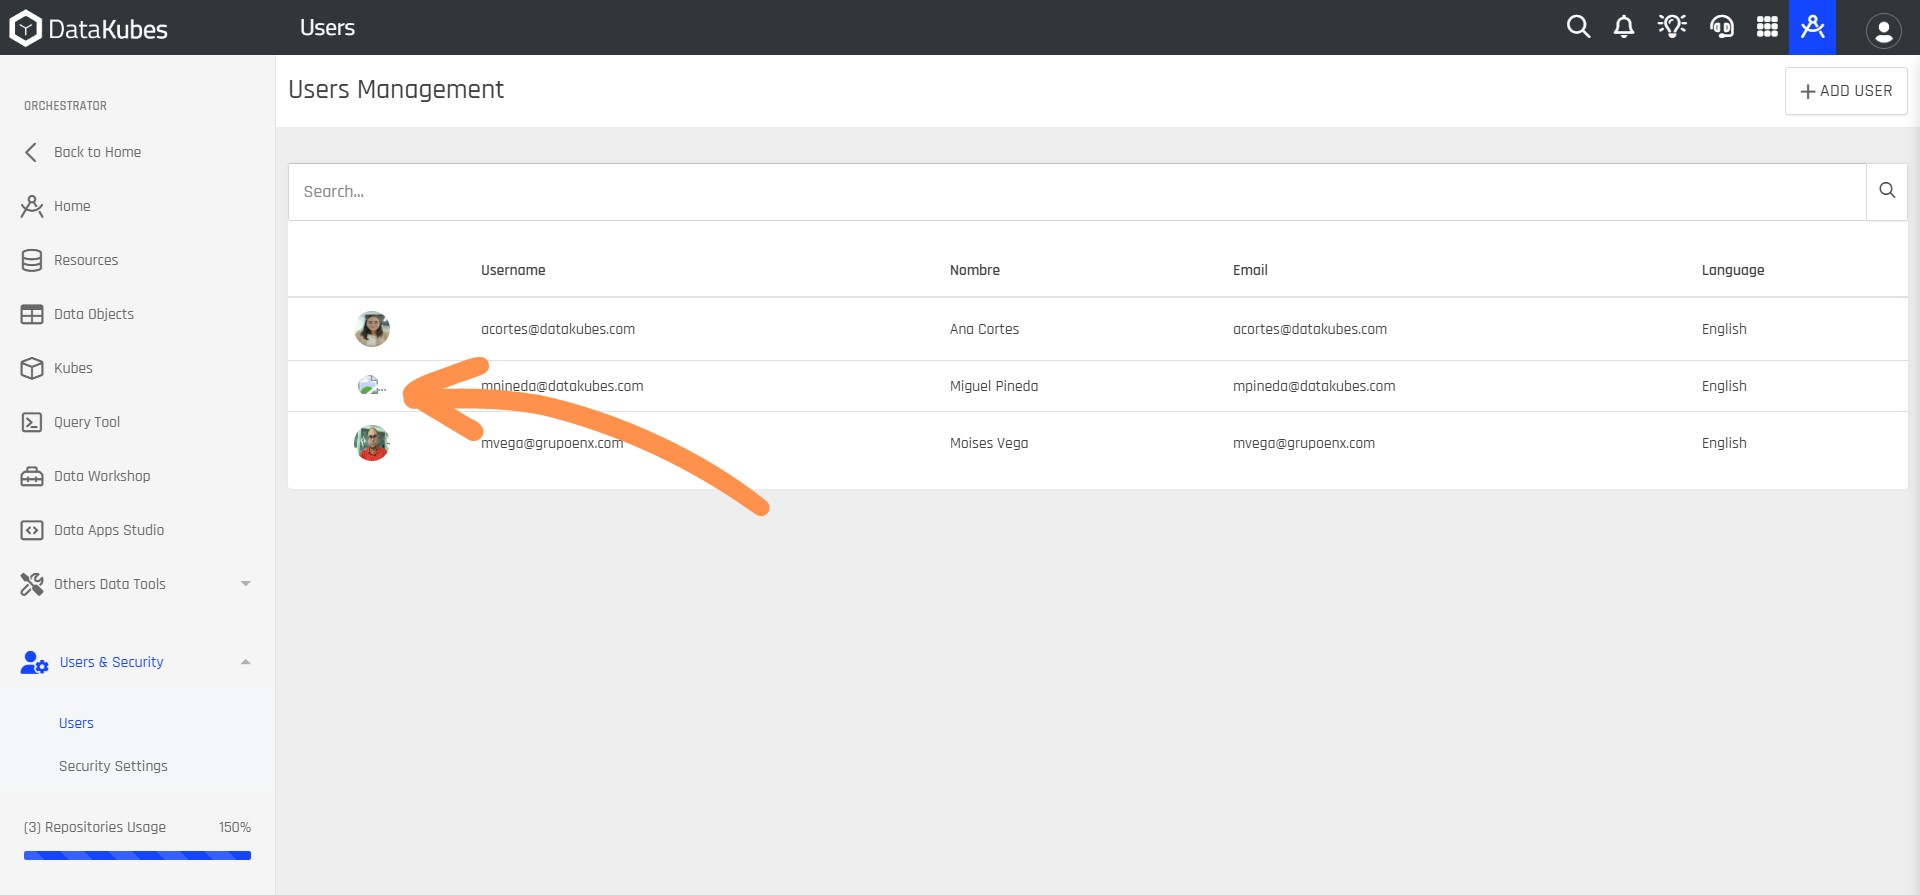
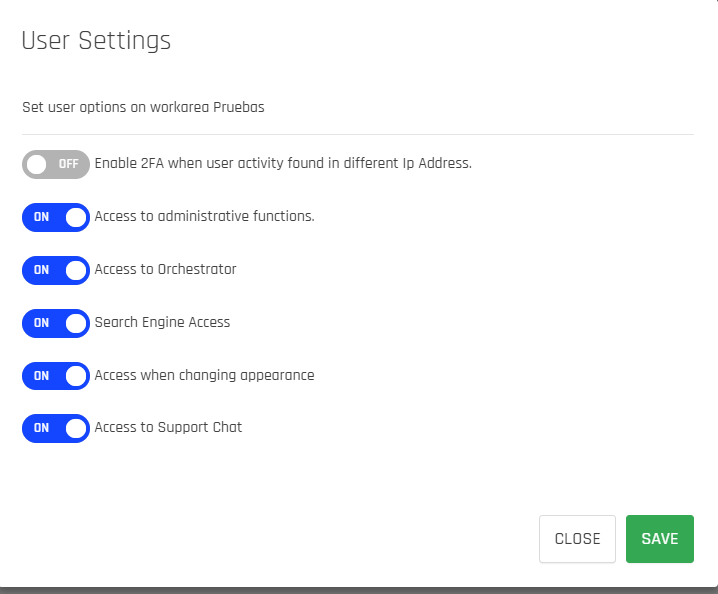
Step 3: Choose the user profile to which you want to grant Orchestrator permissions.
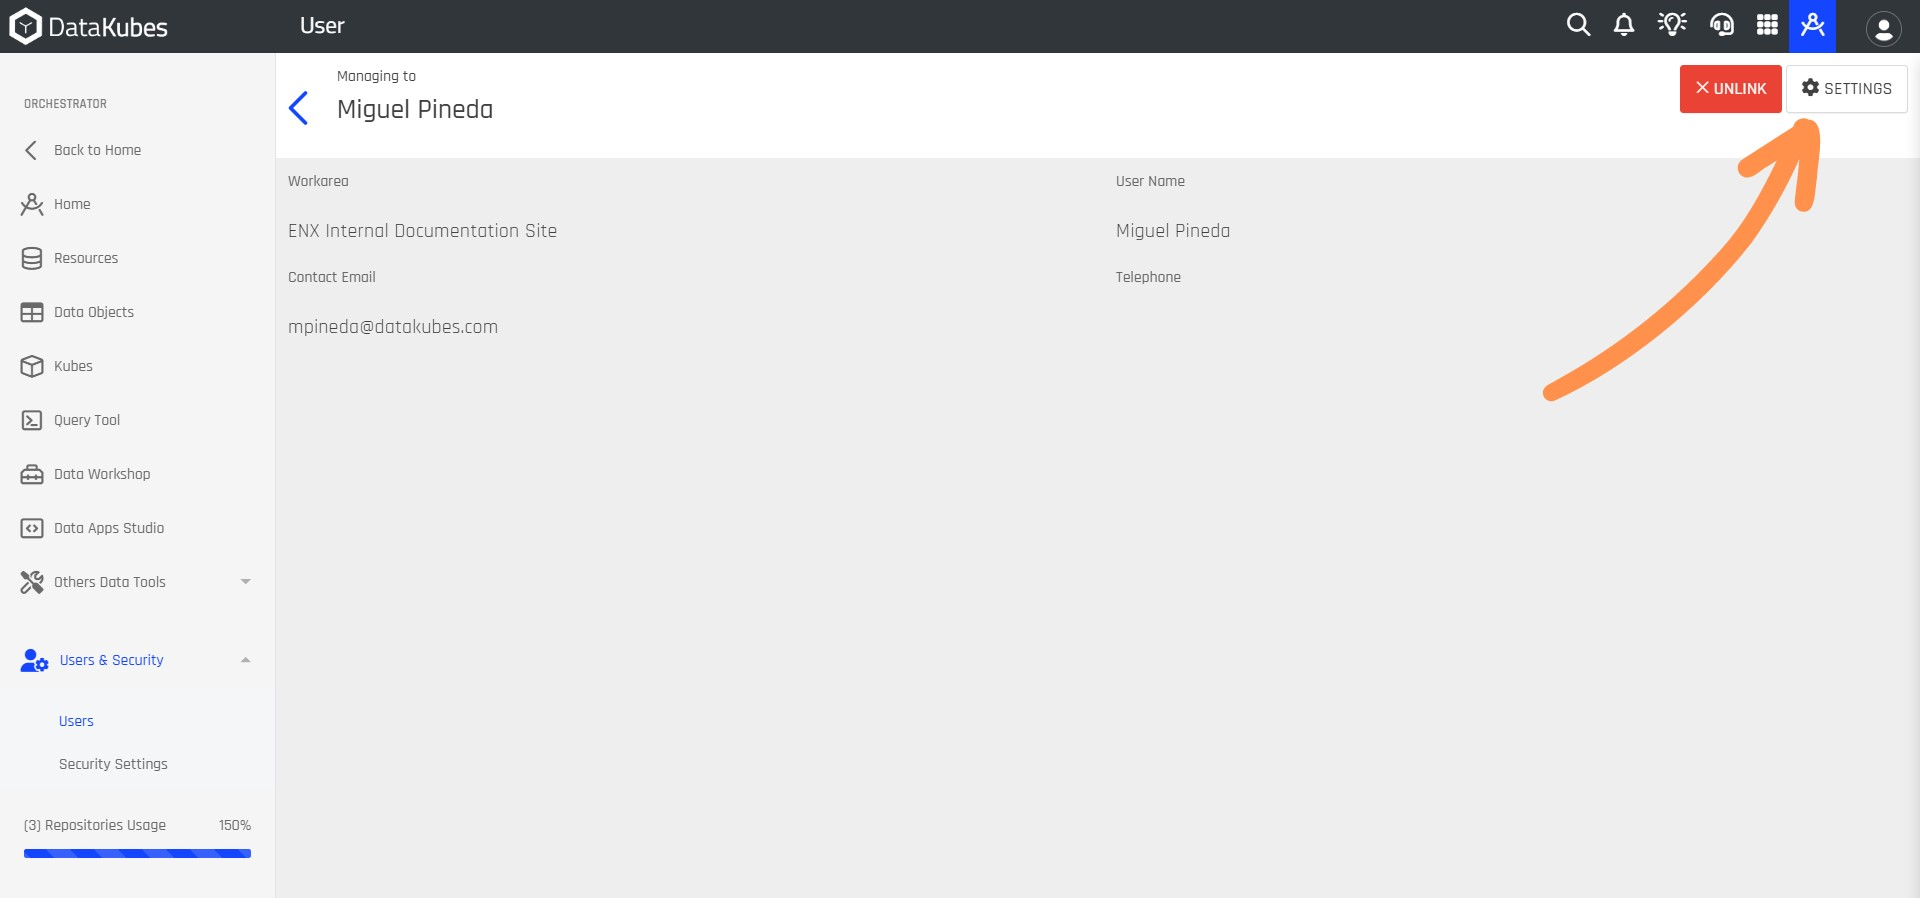
Step 4: After that, a new window will open, showing the team member's profile to whom you will grant the permissions. Click on Settings.
Step 5: A new window will open, and you should give permission by clicking on the Access to Orchestrator button and then click Save.
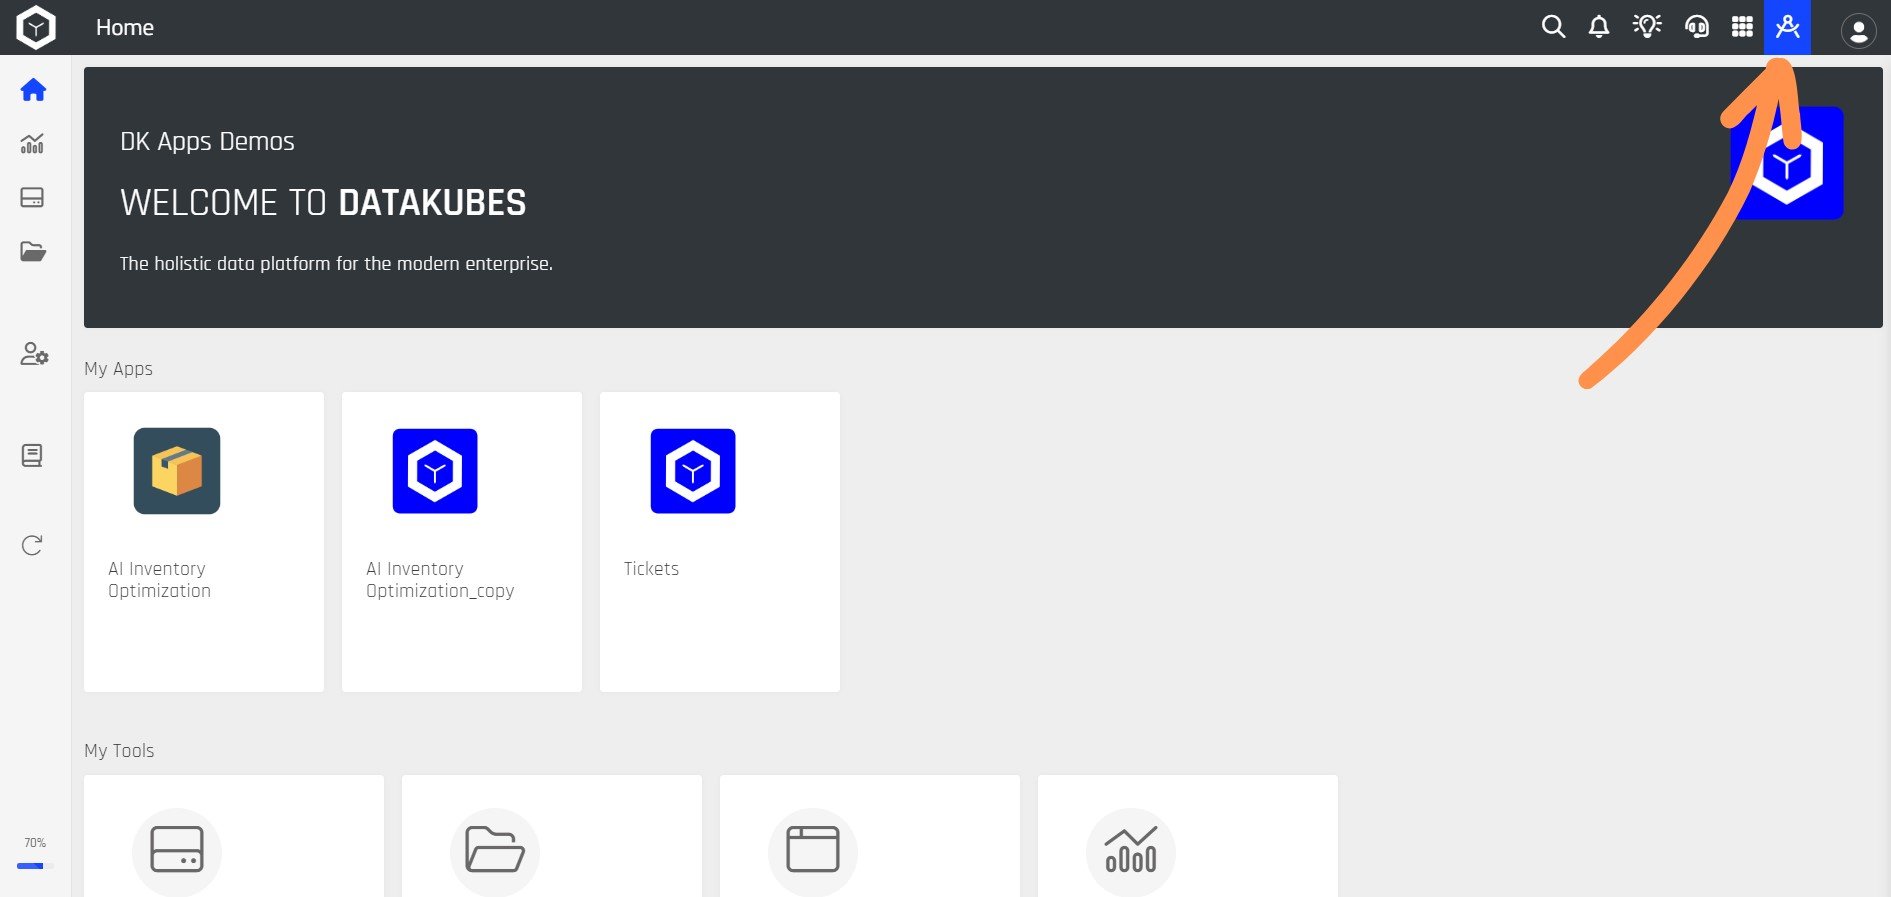
Step 6: After clicking Save, you can return to the home page and view the Orchestrator, click on it to access the tools.
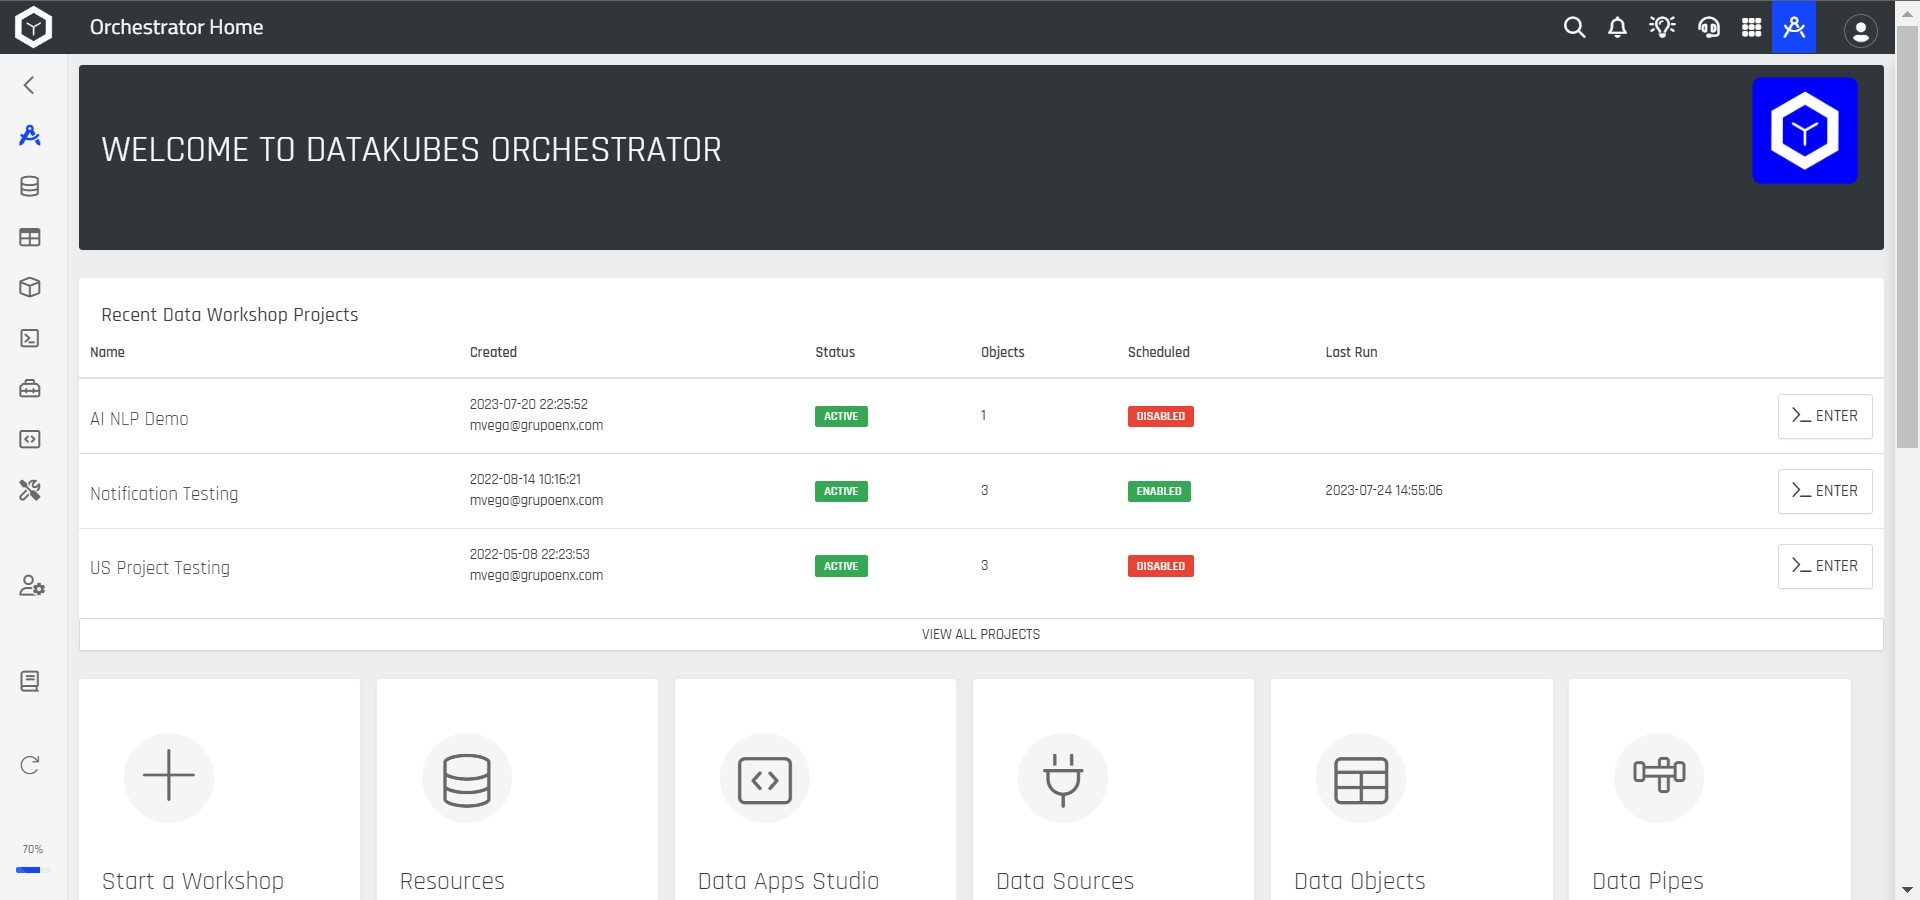
Step 7: Clicking on the Orchestrator will take you to its main page.
Empower Your Organization with Your Data
This has been the introduction to Datakubes. In the following documents, you will find valuable information to learn how to use the DataKubes tools that will help you empower your business with the use of your data.
Updated over 1 year ago