DataApp Studio - Code Screens Ultimate Front-end Customization
The power of customization of data apps screens.
DataApp Studio has been enabled to let developers work with really low code front-end customizations screens. In this article, we demonstrate as a reference how you can create really custom screens in your data apps.
Requirements
Is important to have advanced knowledge in the following development languages to understand easily this article:
- Bootstrap 4
- HTML 5
- CSS 5
- Jquery
- JSON
- Javascript
Adding a Code Screen in a DataApp
Once you are in your App in the DataApp Studio add a screen like the following image:
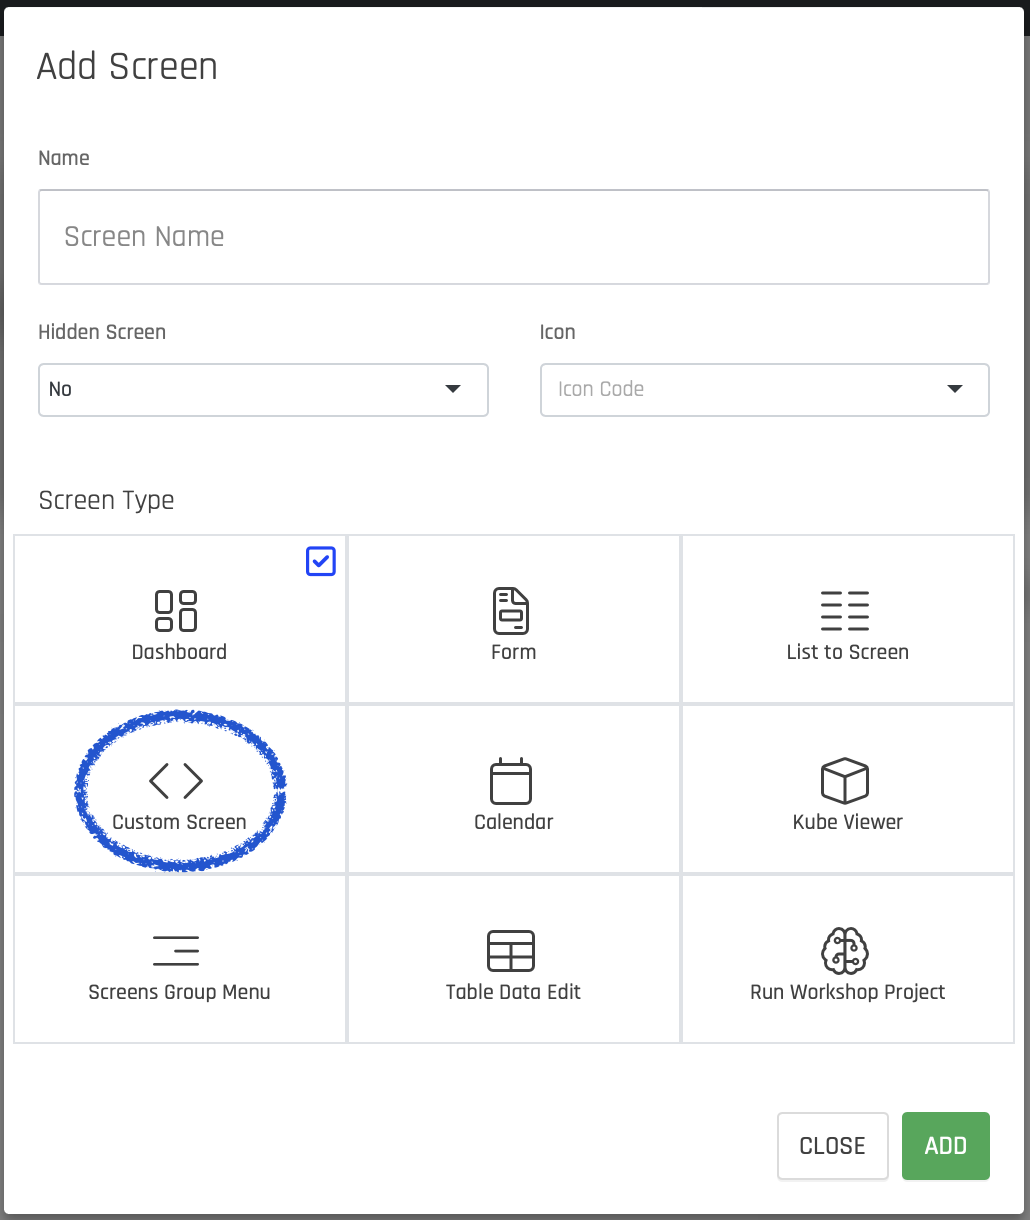
Once added the screen admin interface will be loaded and the following screen will be shown:
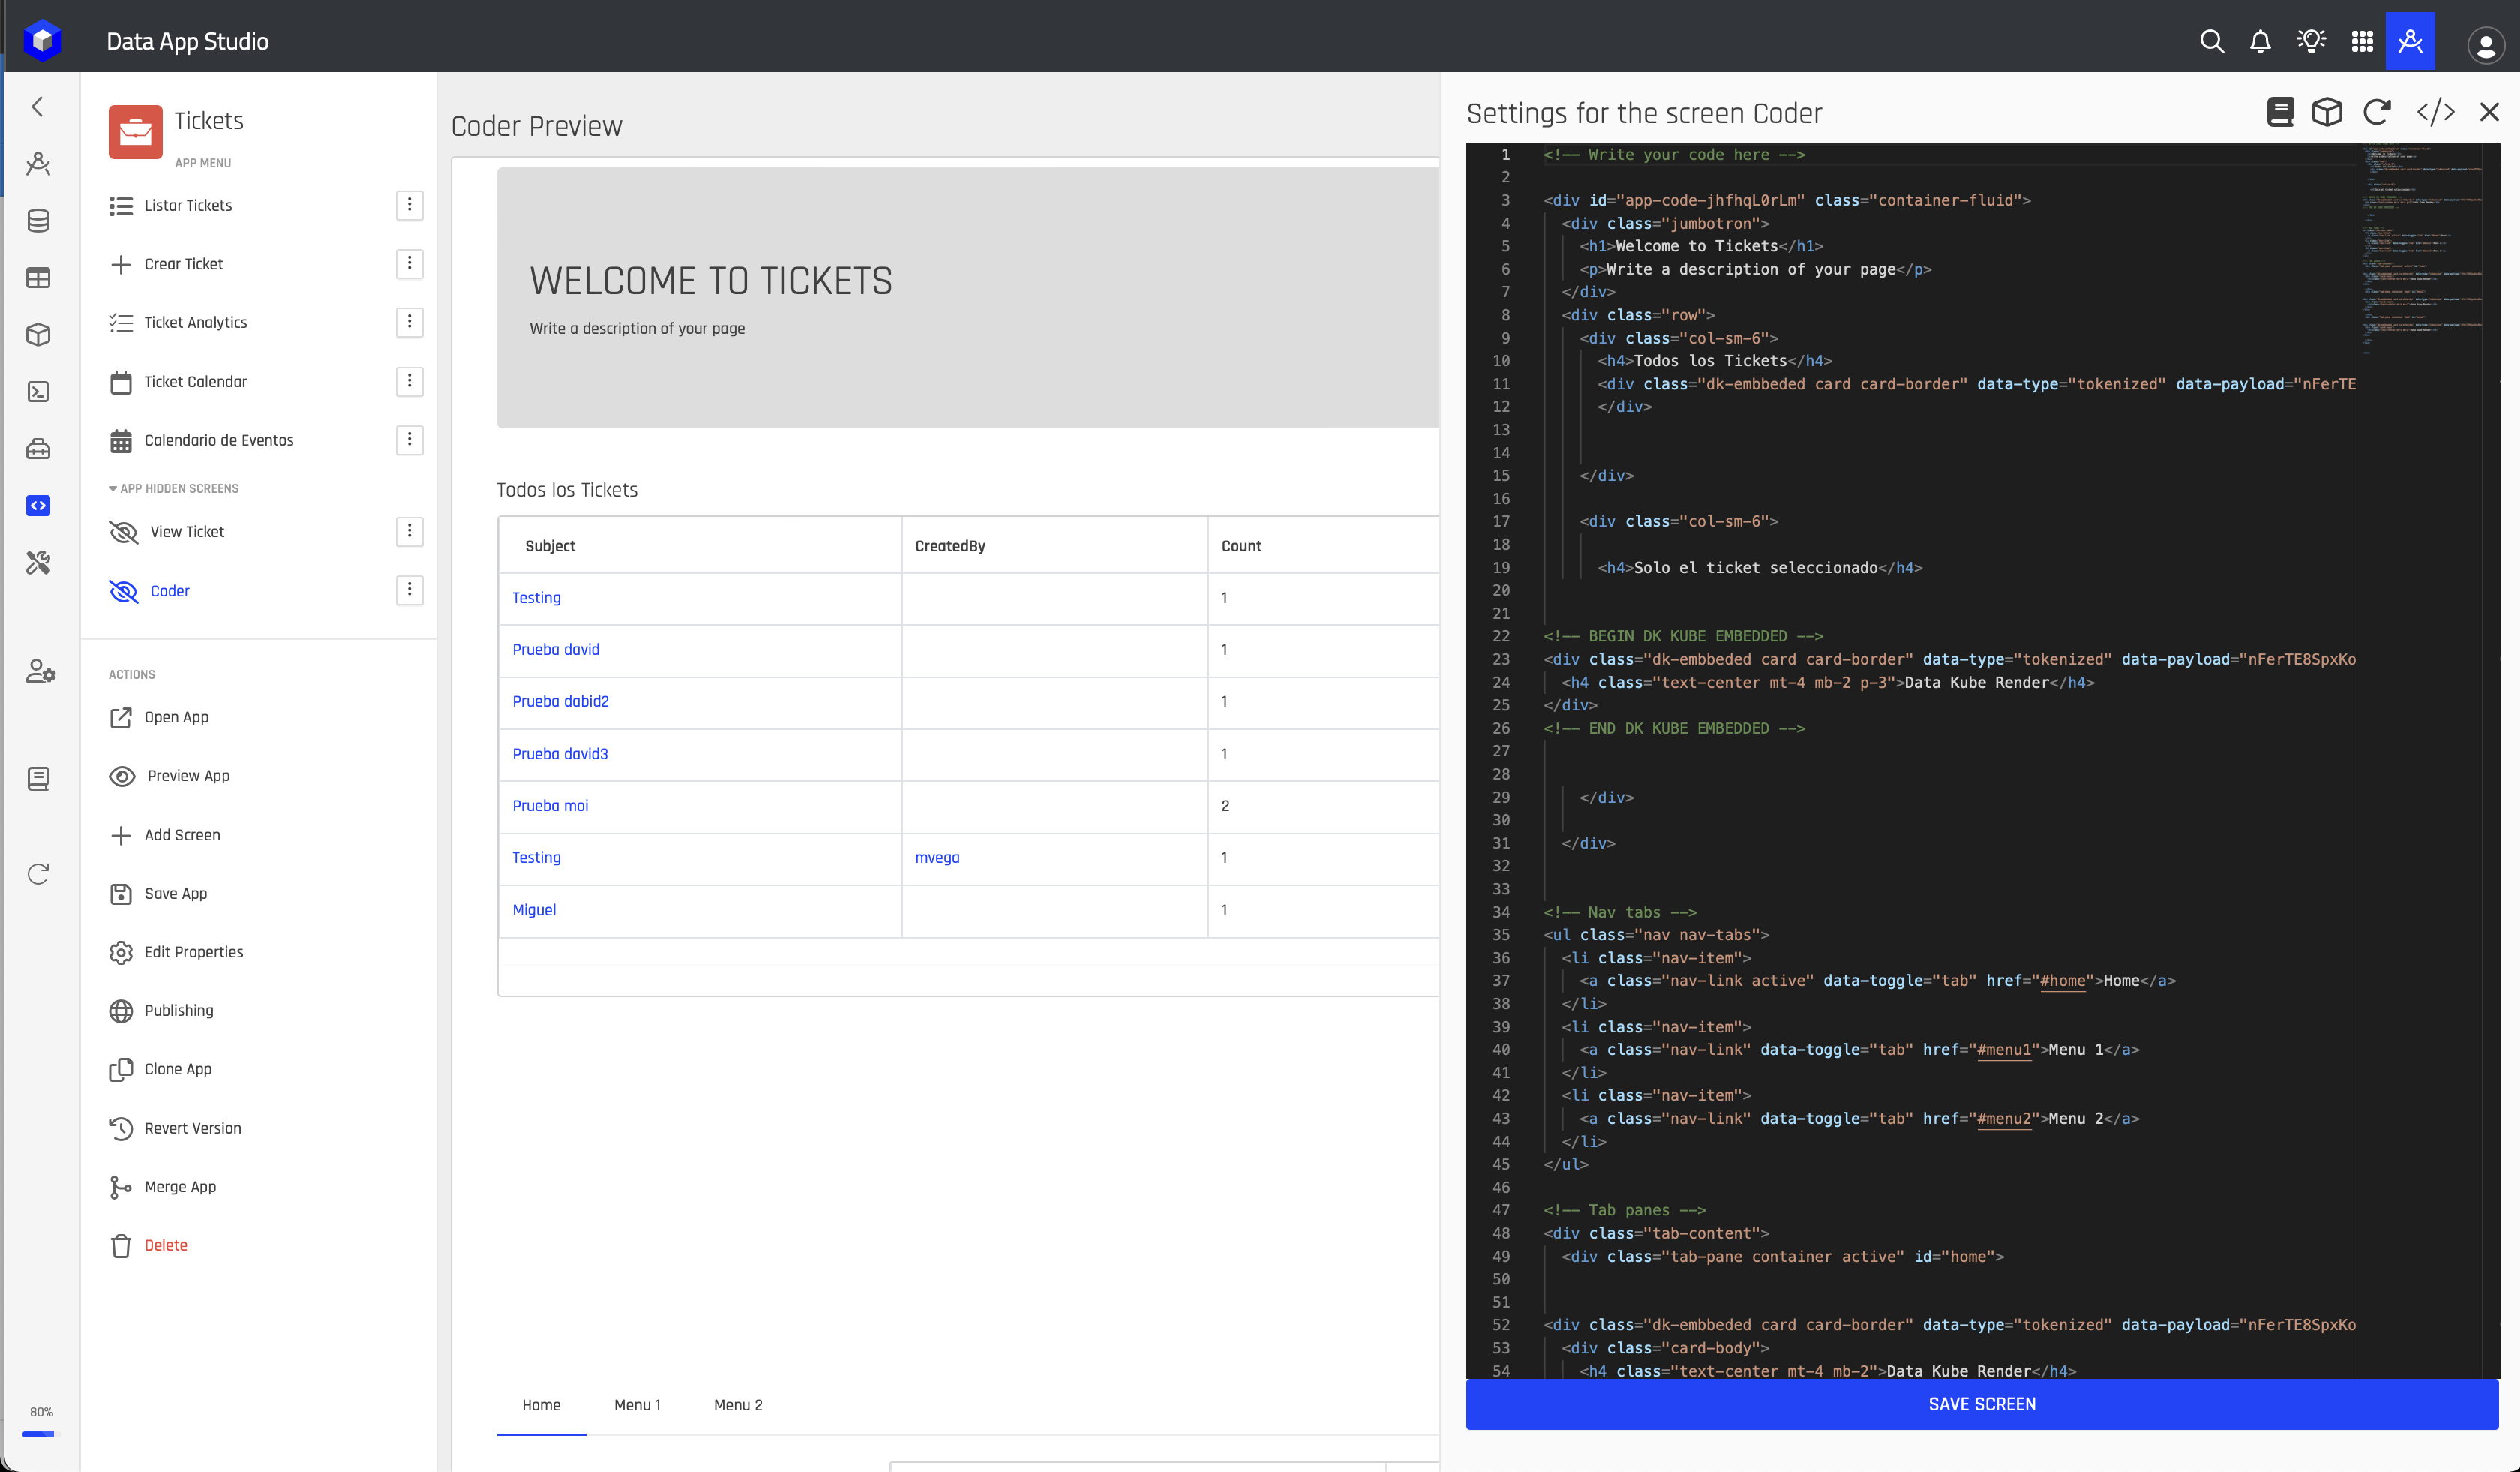
Where to the right we can see the code editor where we can add our screen custom code, and in the back we can see the render in real time of the screen.
Code Editor vs Script Editor
In the Code Screen you have 2 editors to work with, one is the default code editor used for front end customization and the layout of you code screen. This is the one shown in the following image:
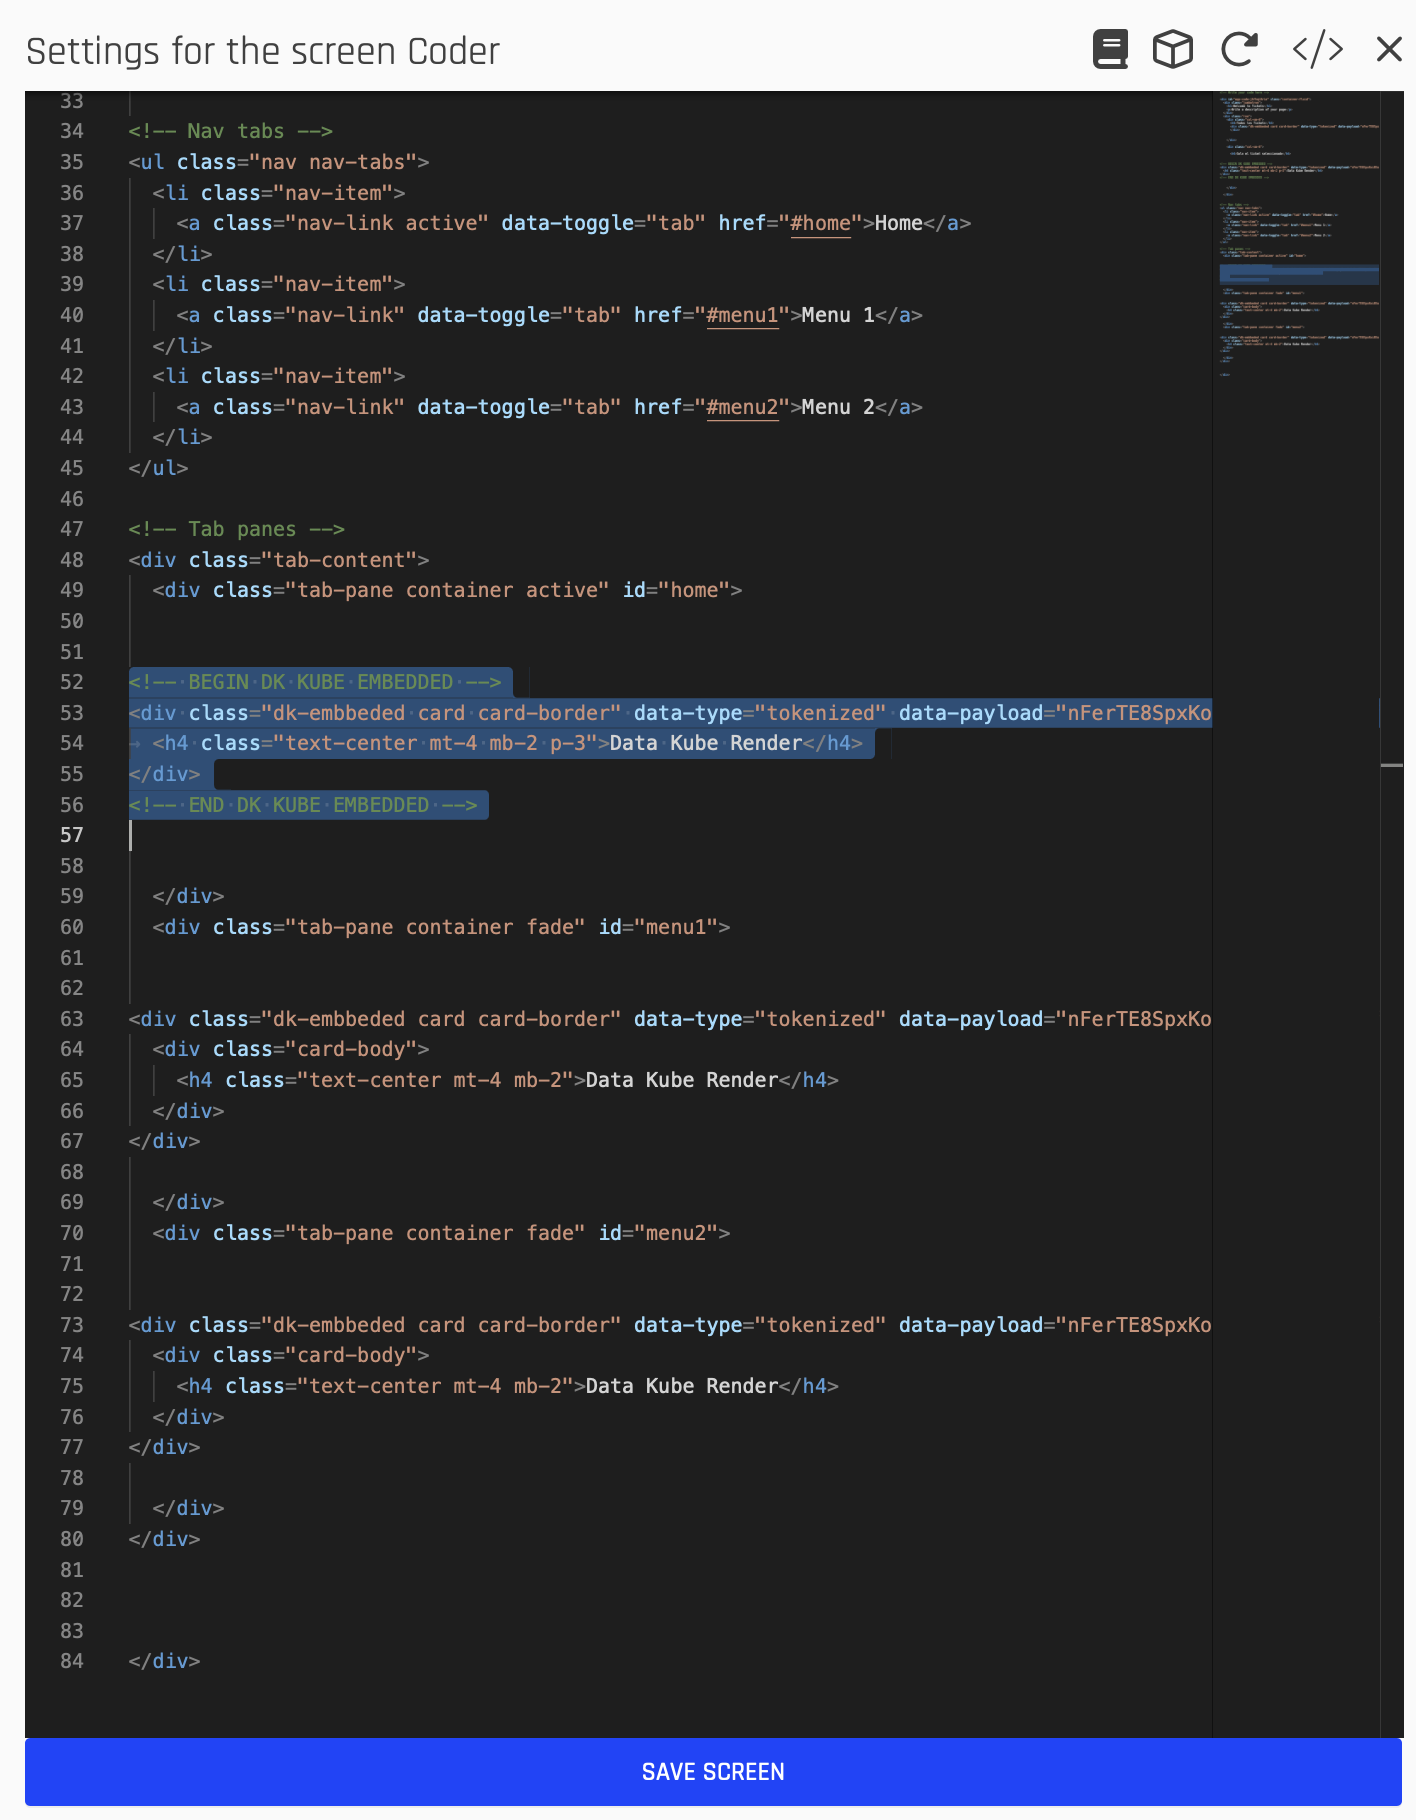
And the script editor is accessible by pressing the following icon:
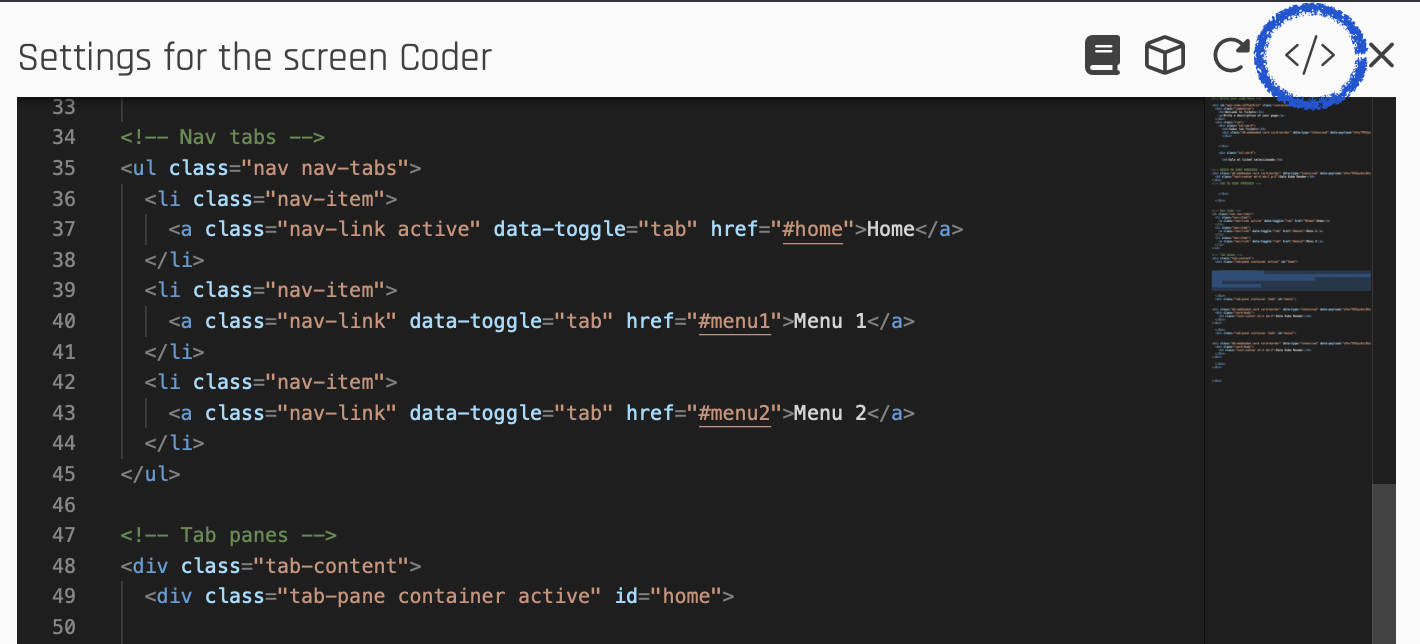
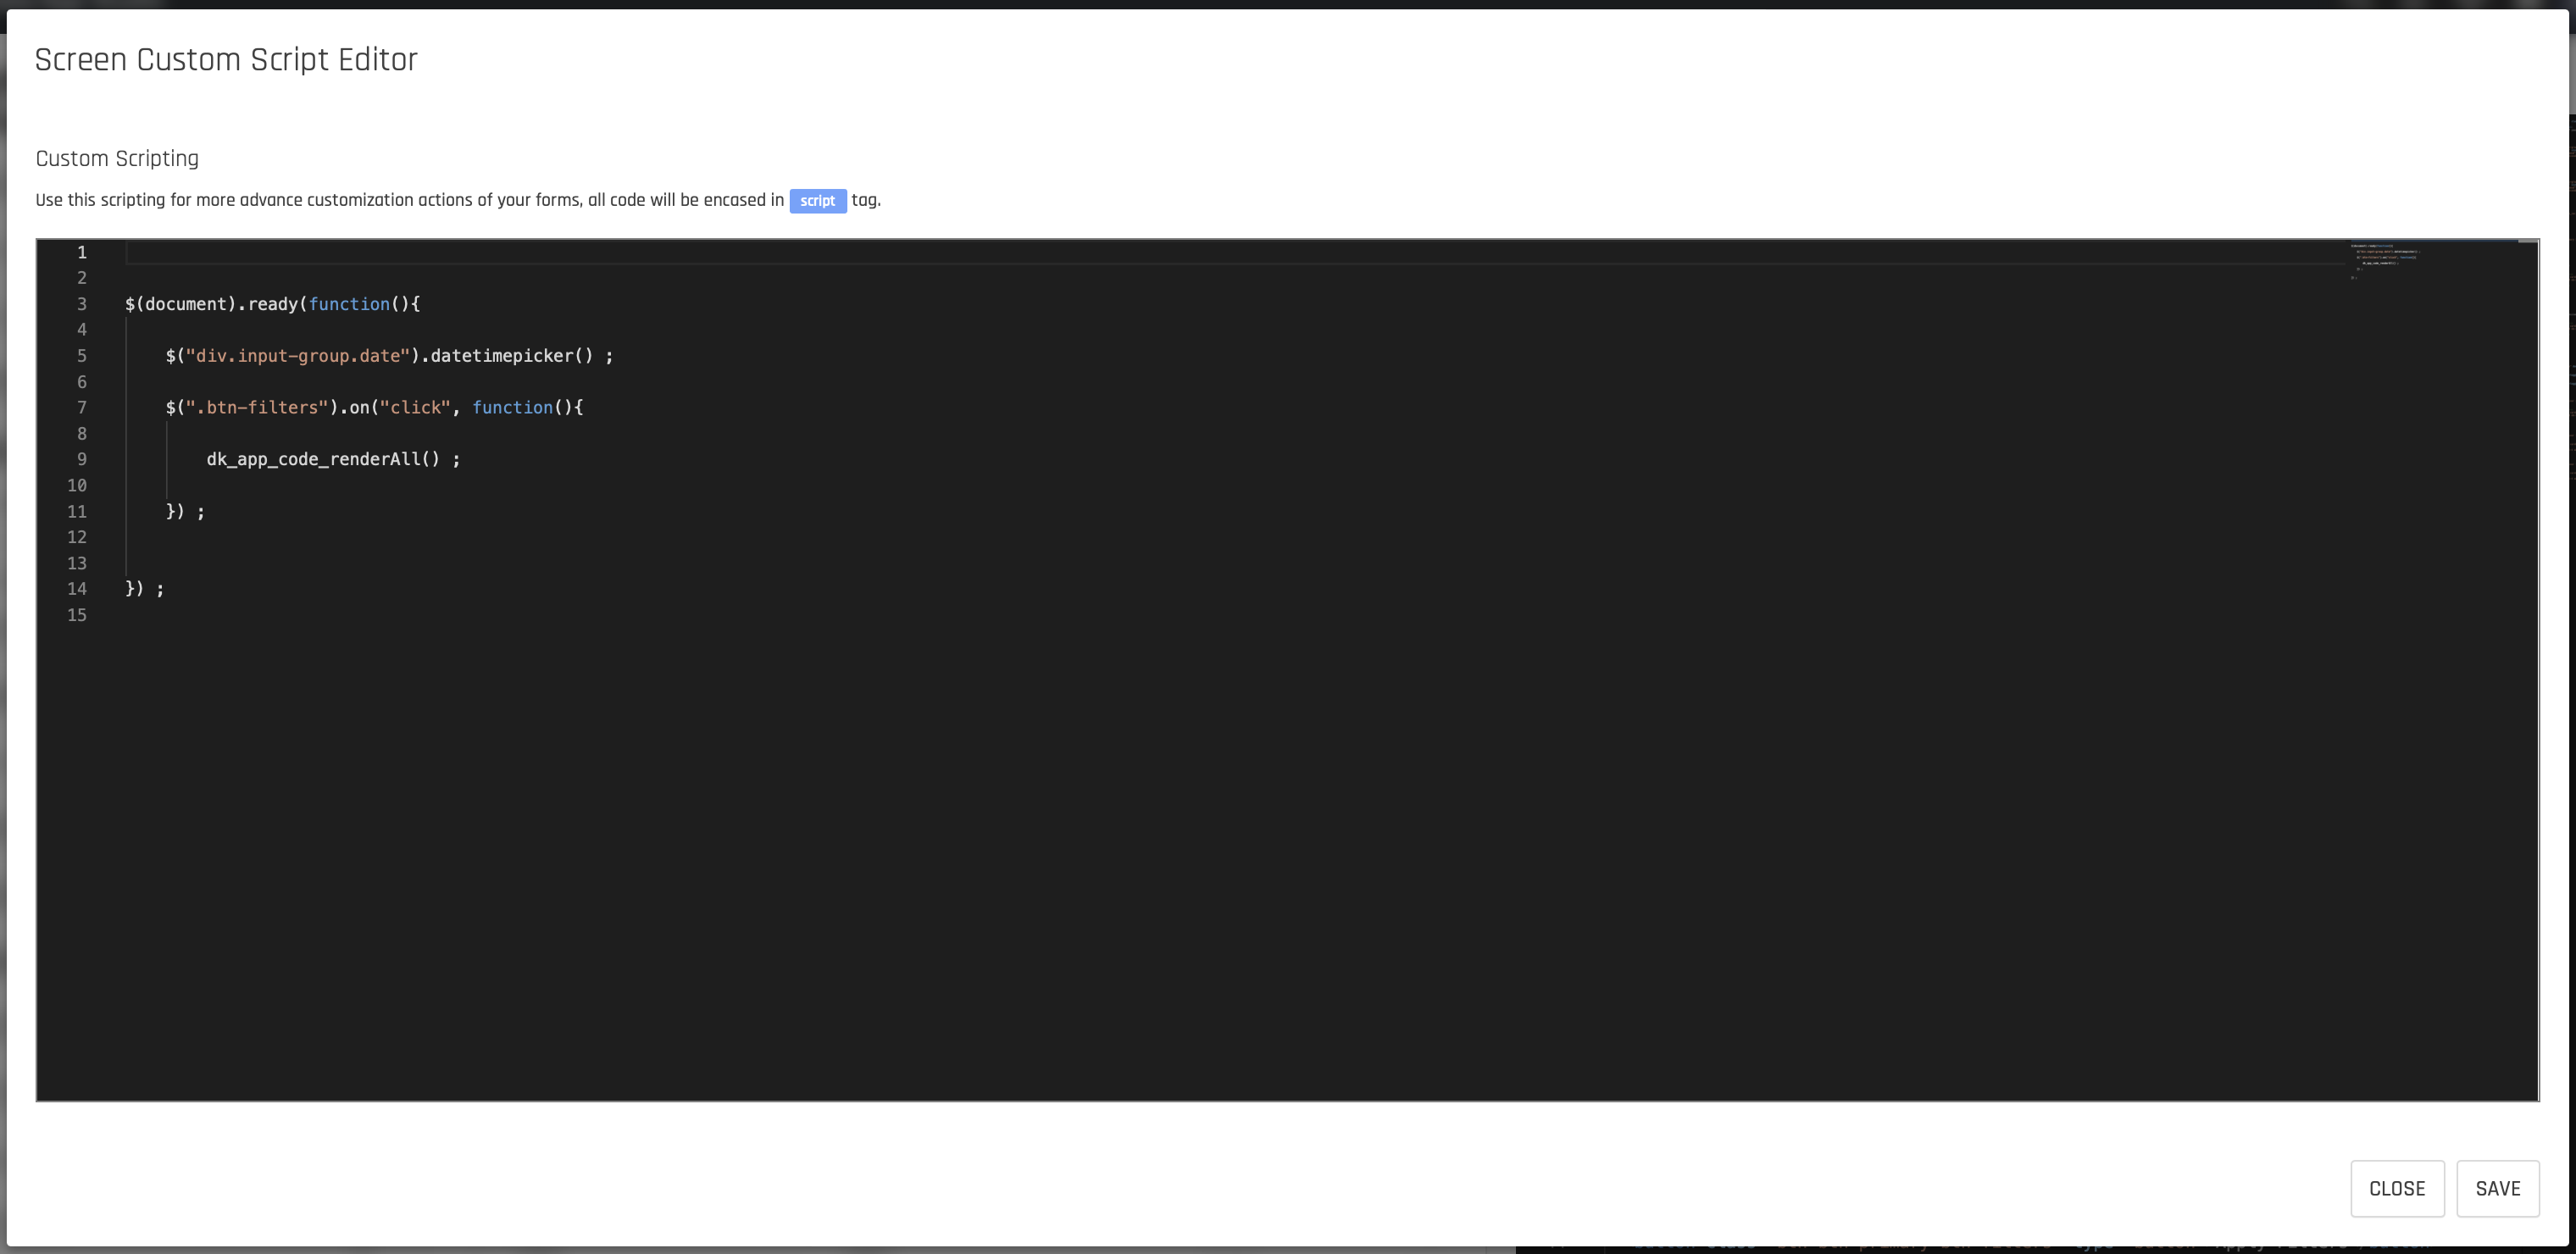
This will open the script modal where you may add Jquery or Javascript code directly as all your code will be loaded in a
tag.
Adding Embedded Data Kube Models
One of the powerful functions of the Code Screen type is the use of Embedded Data Models based in your Pre-created Kubes in your work area. The workflow to embedded a Data Kube Model in your custom code is the following:
- Open the DataApp Studio Data Insight Designer
- Select the Kube to be loaded
- Customize the loaded Kube to your personal needs
- Generate the Embedded code
- Copy the code and paste in your Code Screen Editor
To open the DataApp Studio Insight Designer use the following icon:
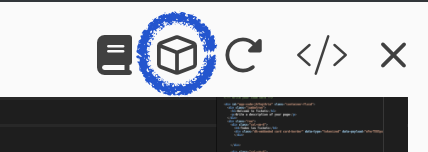
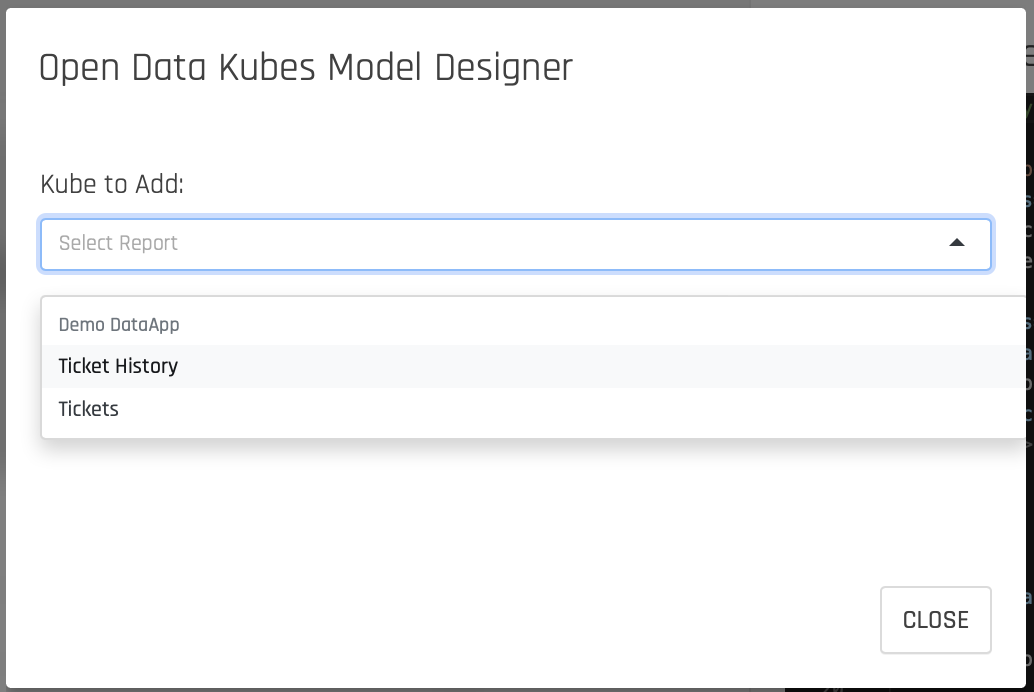
Once the icon is pressed select the Kube to be loaded in the Data Insight Designer like the following screen shows:
Once on the new window please customize the Kube as you would like it loaded as the following image:
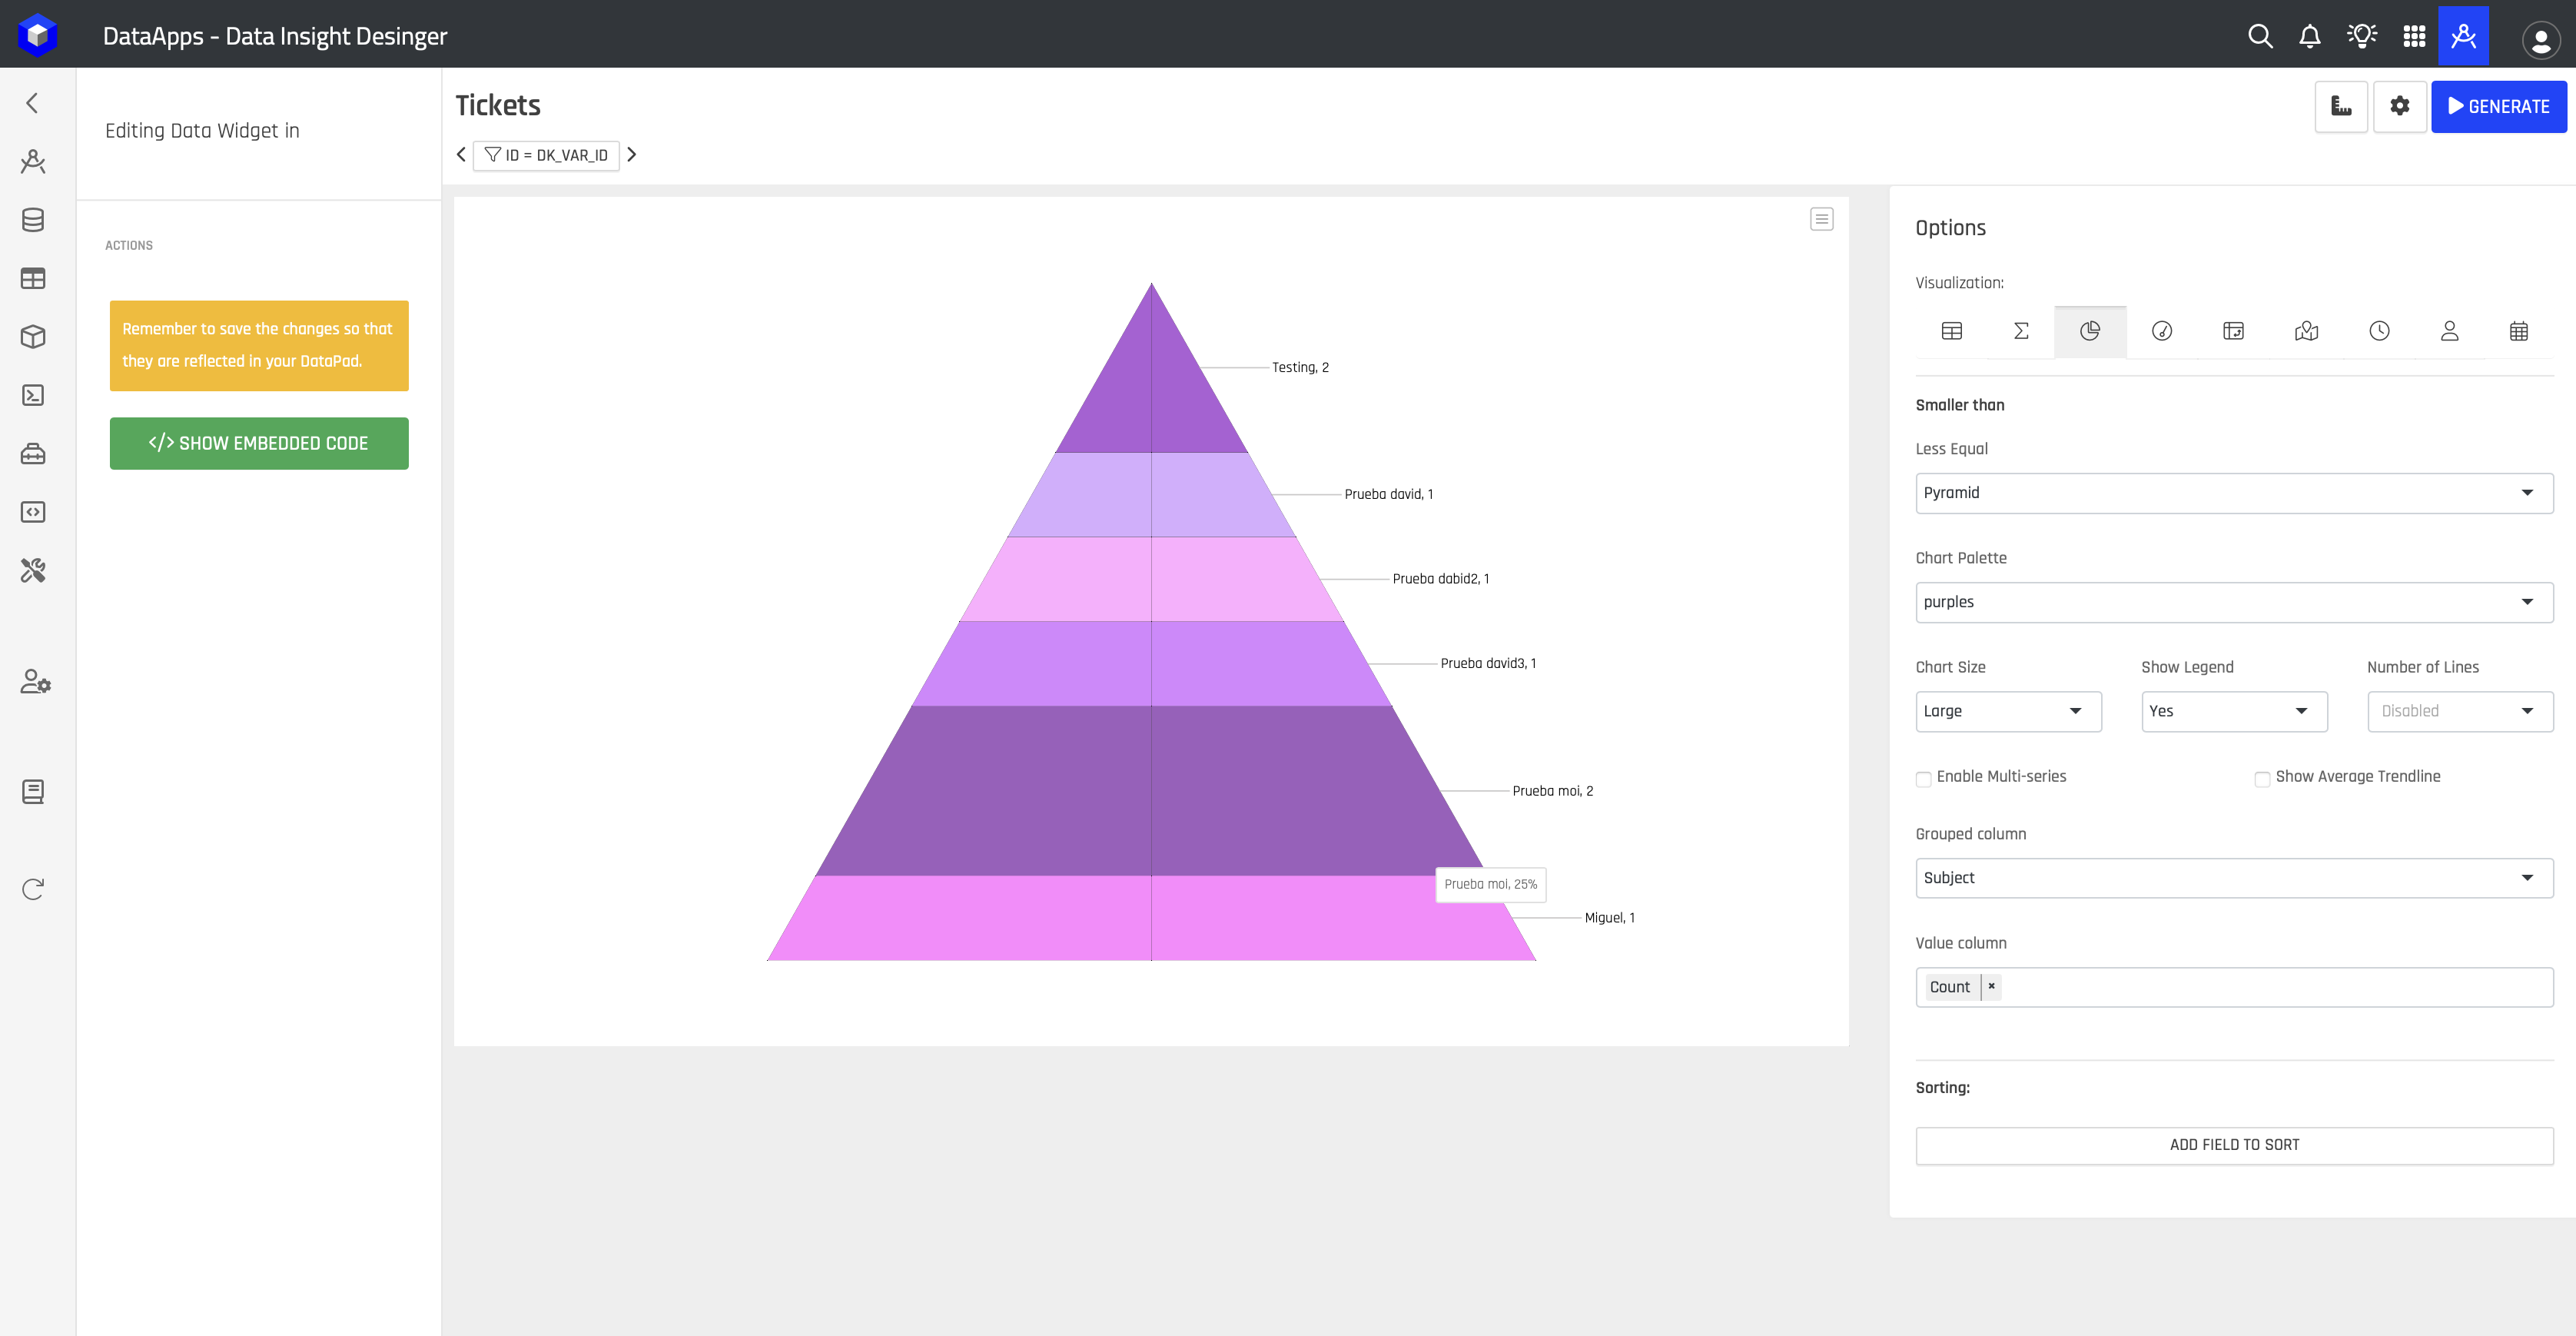
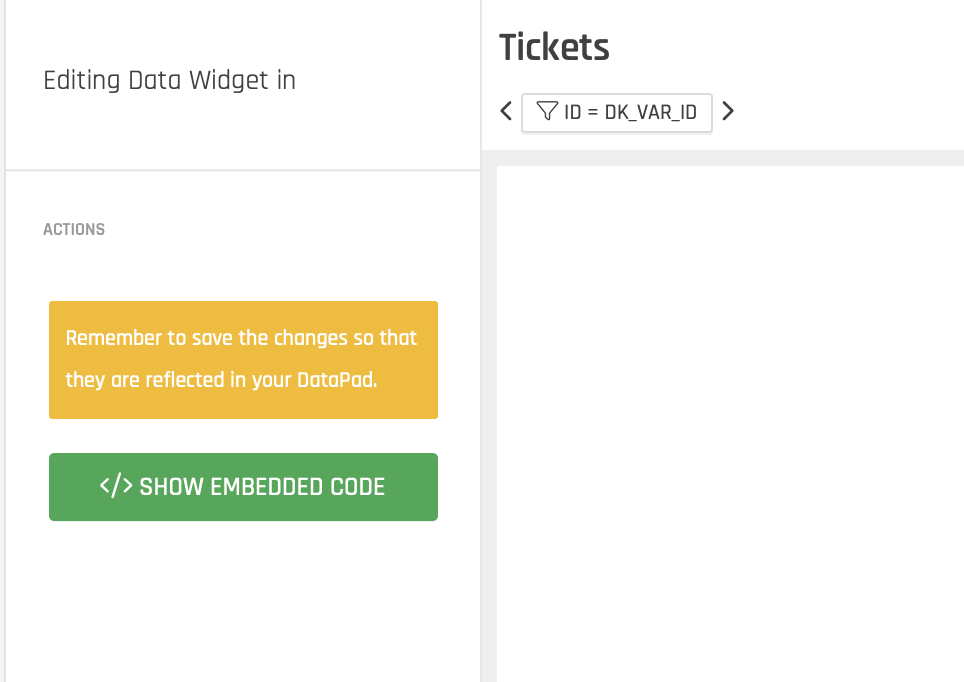
Once ready generate the embedded code by pressing the button "SHOW EMBEDDED CODE" of the following image:
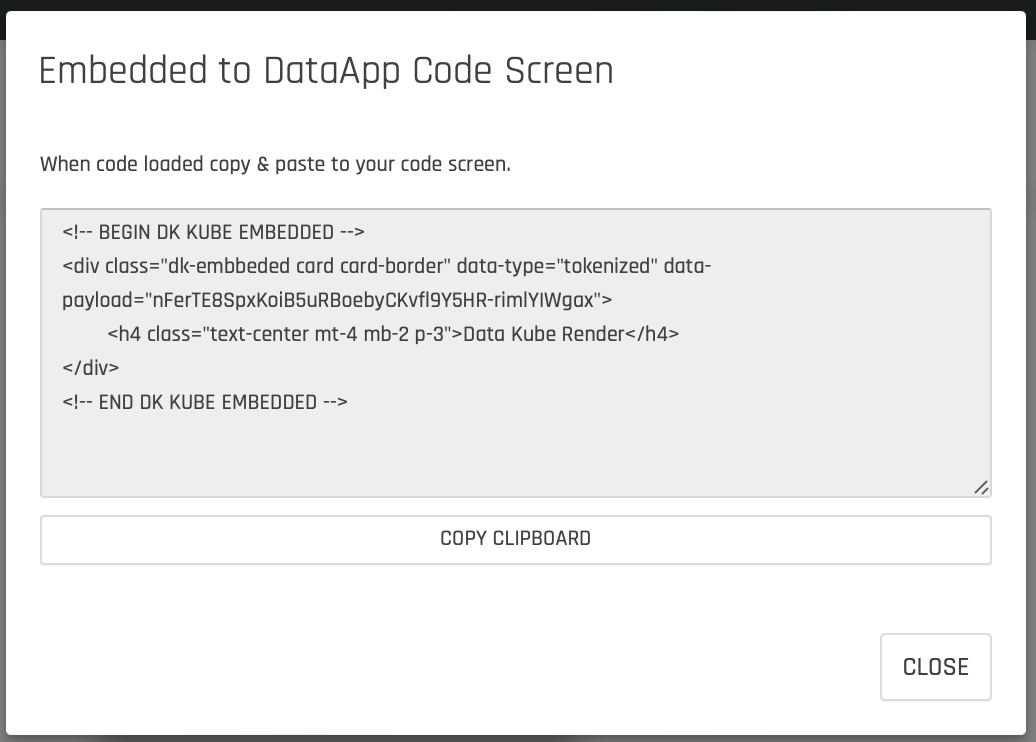
The embedded code modal will open, you may copy the full code by pressing the copy clipboard button.
With the code at the clipboard you may paste the code to the code editor in your Code Screen DataApp as for example:
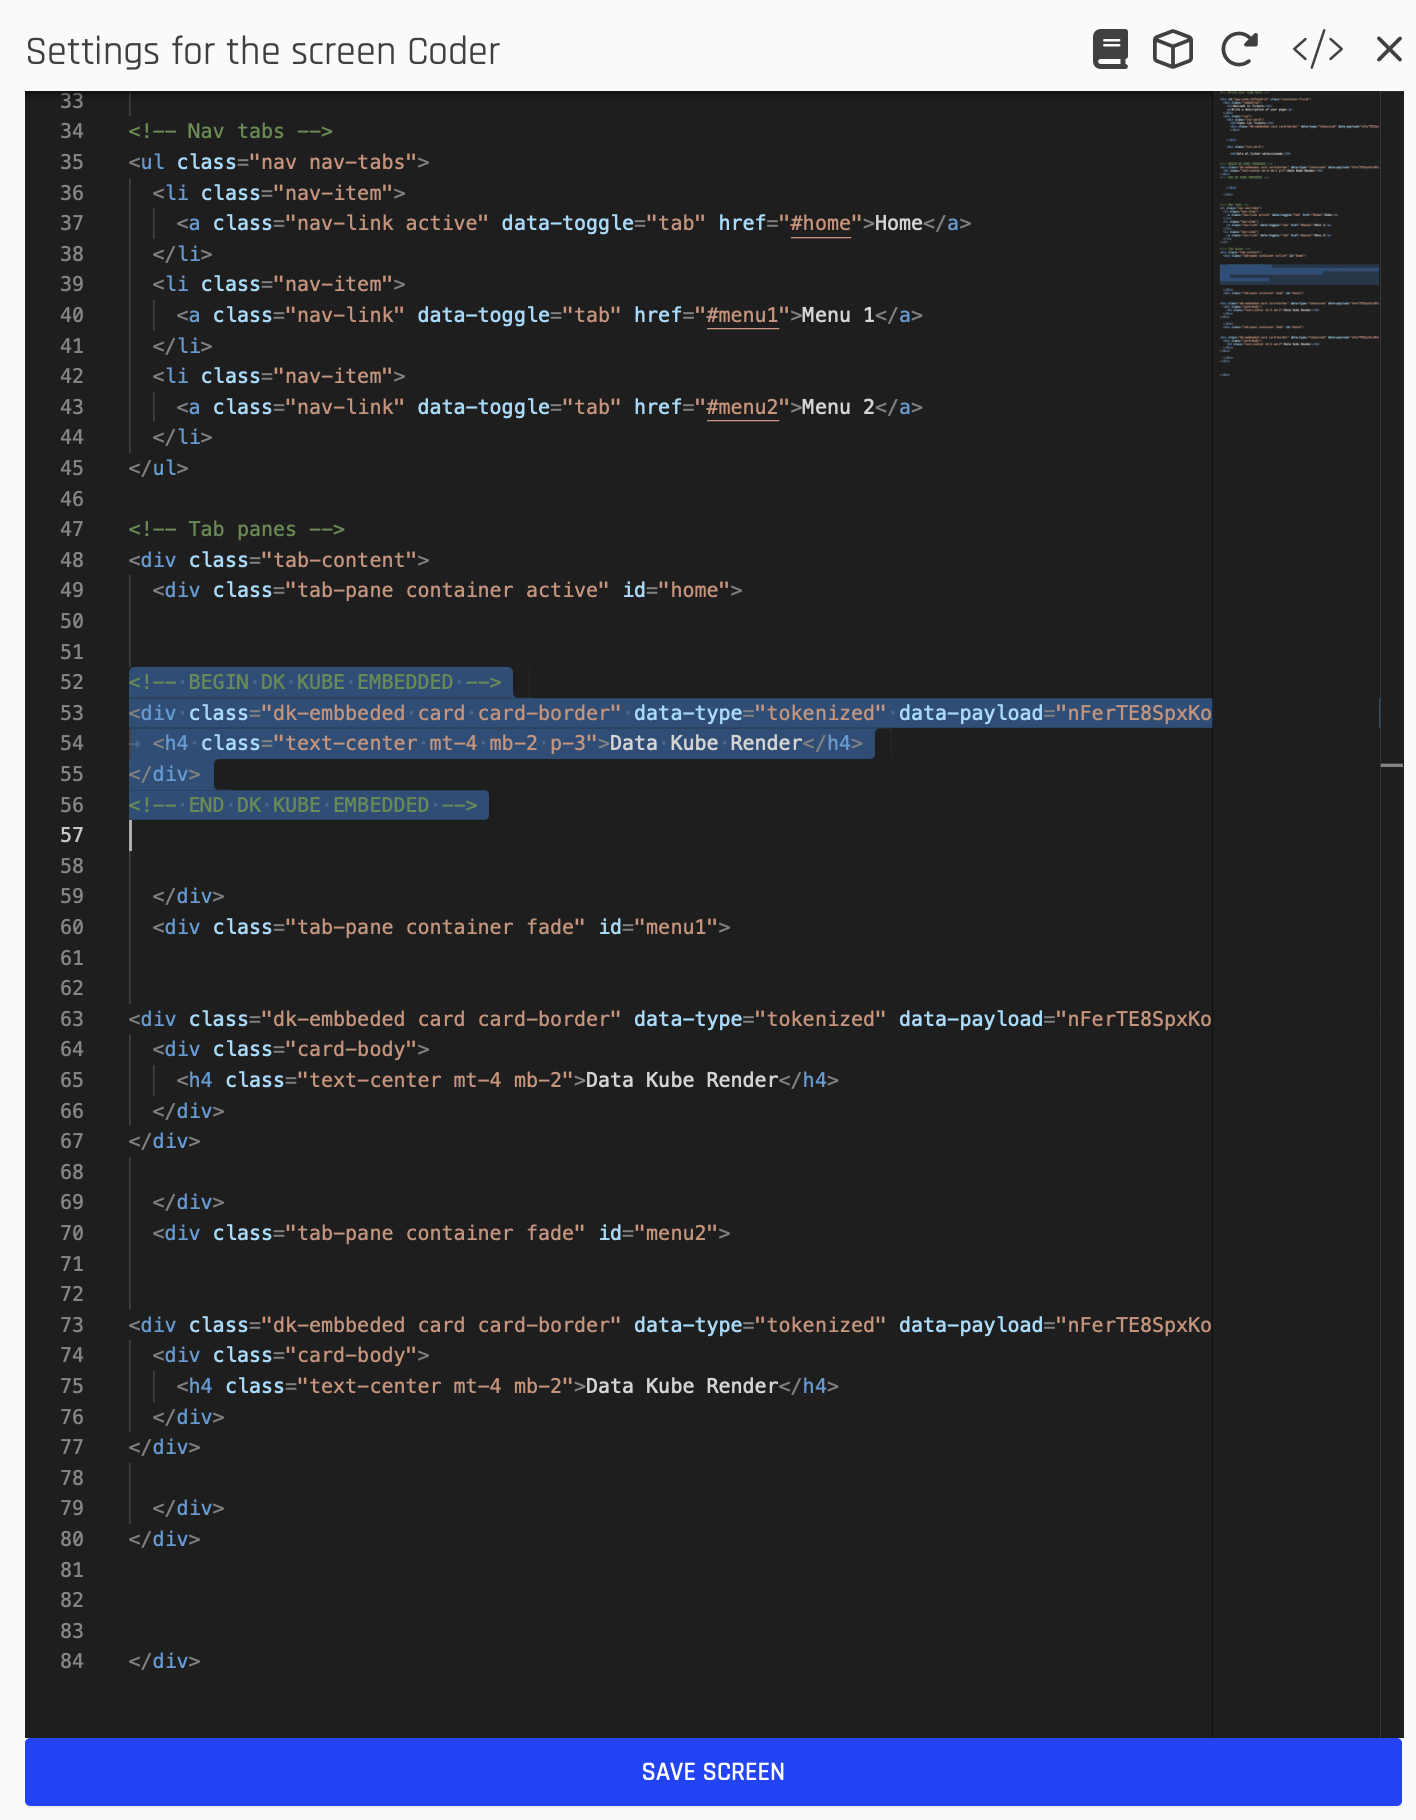
Once this you may save your work and reload the preview pane to show the new changes.
Save your work!Remember to save your work always when working with DataApp Studio.
Relating DataApp Global Variables and Linking Screens to Code Screens
DataApp Global Variables let us send custom values between data app screens and embedded Kubes for advanced DataApp user experiences.
Adding Custom Filters
For adding custom filters we use DataApp Global Variables, so the code to convert any input tag to a global variable use:
<input data-dk-var-name="dk_var_custom_name" class="form-control" size="16" value="">Adding Date and Date Range Filters
For adding date filters to your screen you may use the following code in your Code & Script Editors:
<div class="input-group input-group-sm date datetimepicker" data-min-view="2" data-date-format="yyyy-mm-dd">
  <input class="form-control" size="16" type="text" value="" data-dk-var-name="dk_var_DateFrom">
  <div class="input-group-append">
    <button class="btn btn-secondary" type="button"><i class="icon fa fa-calendar"></i></button>
  </div>
</div>
$(document).ready(function(){
$("div.input-group.date").datetimepicker() ;
}) ;
DataApp Global VariablesRemember to Add Corresponding DataApp Global Variables to your Embedded Kubes and your corresponding data-dkvar-name attribute at the input tag for applying the filters to them.
Reload Embedded KubesYou may use the function dk_app_code_renderAll() to reload all your embedded kubes in the Code Screen.
DataKubes Global Variable JS Object
We have enabled a constant variable in the JS Model of all datakubes apps that makes accessible any Session DataKube Global Variable for been used thru the JavaScript Object Model. Access easily any variable using the constant named dk_vars_obj, for example you may display its content using the following code:
console.log(JSON.stringify(dk_vars_obj)) ;Bootstrap 4 Engine
You may use any of the bootstrap 4 tools in your screen to maximize the user experience, please refer the following online documentation for bootstrap 4 tools.
Updated about 1 year ago